BitBrowser Configuration Guide
BitBrowser (Bit Browser) is a professional fingerprint browser focused on e-commerce and social media multi-account management. This guide walks you through configuring NiuProxy in BitBrowser.
Video Tutorial
Prerequisites
- BitBrowser client installed (https://www.bitbrowser.net/)
- NiuProxy account with available proxy services
- Proxy server address and authentication information obtained
Configuration Steps
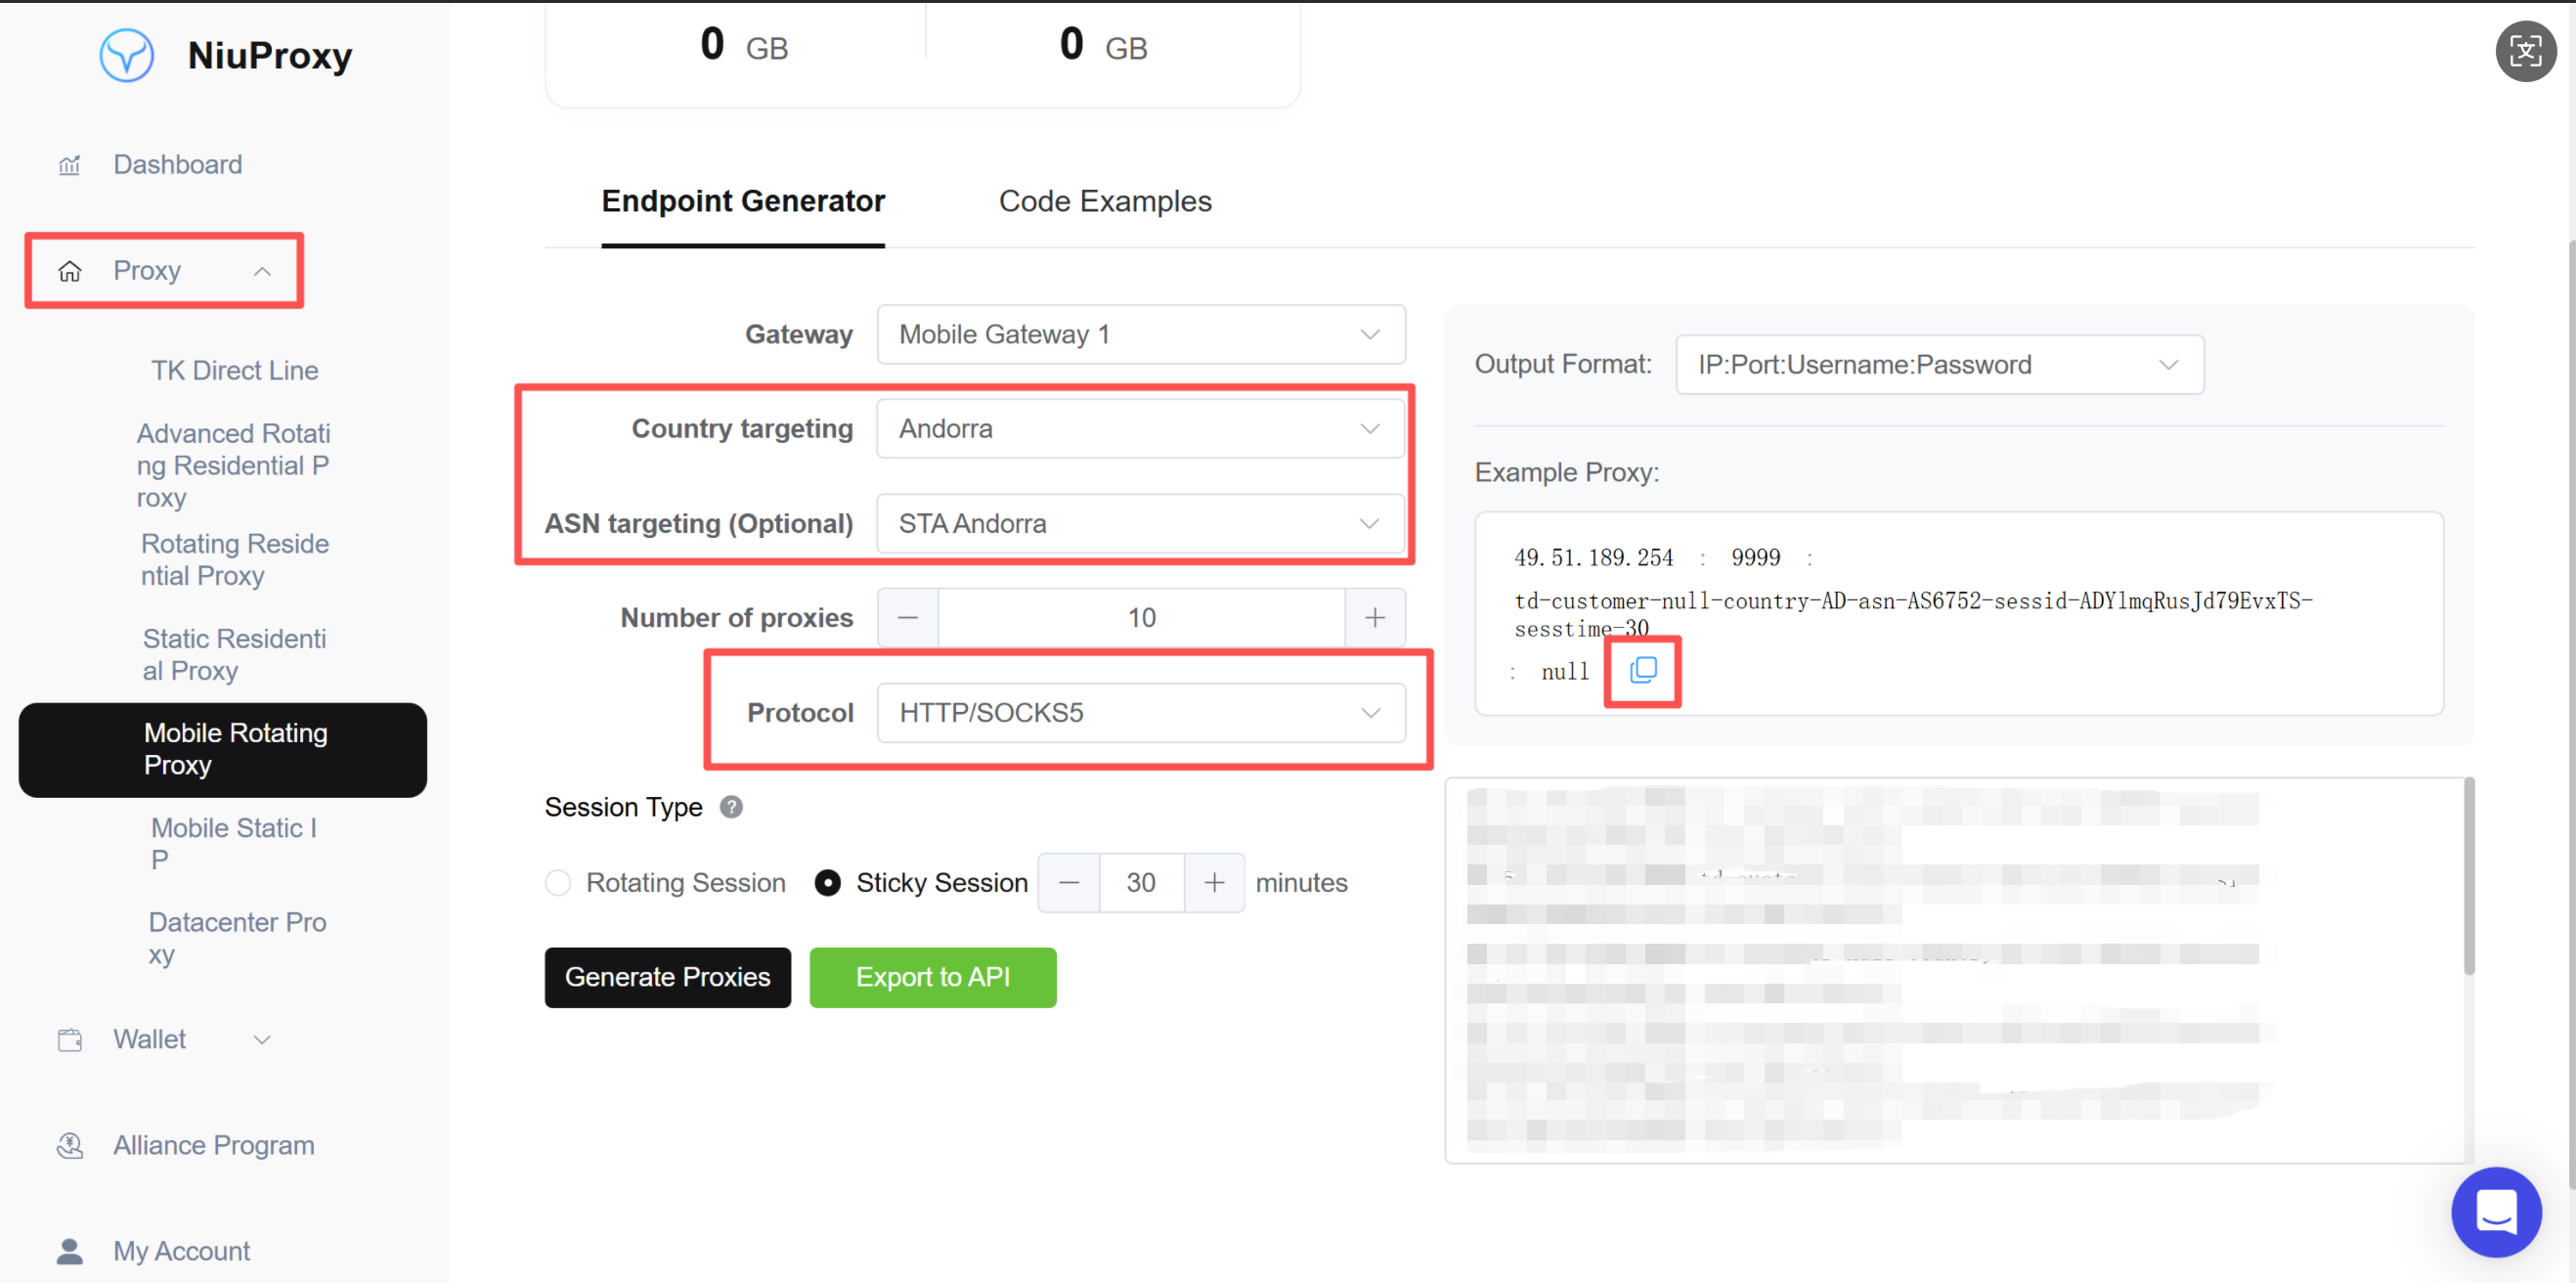
Step 1: Get Proxy Information
Log in to the NiuProxy management panel and obtain:
- Proxy address:
proxy.niuproxy.com - Port:
8080(HTTP) or1080(SOCKS5) - Username and password
Step 2: Open BitBrowser
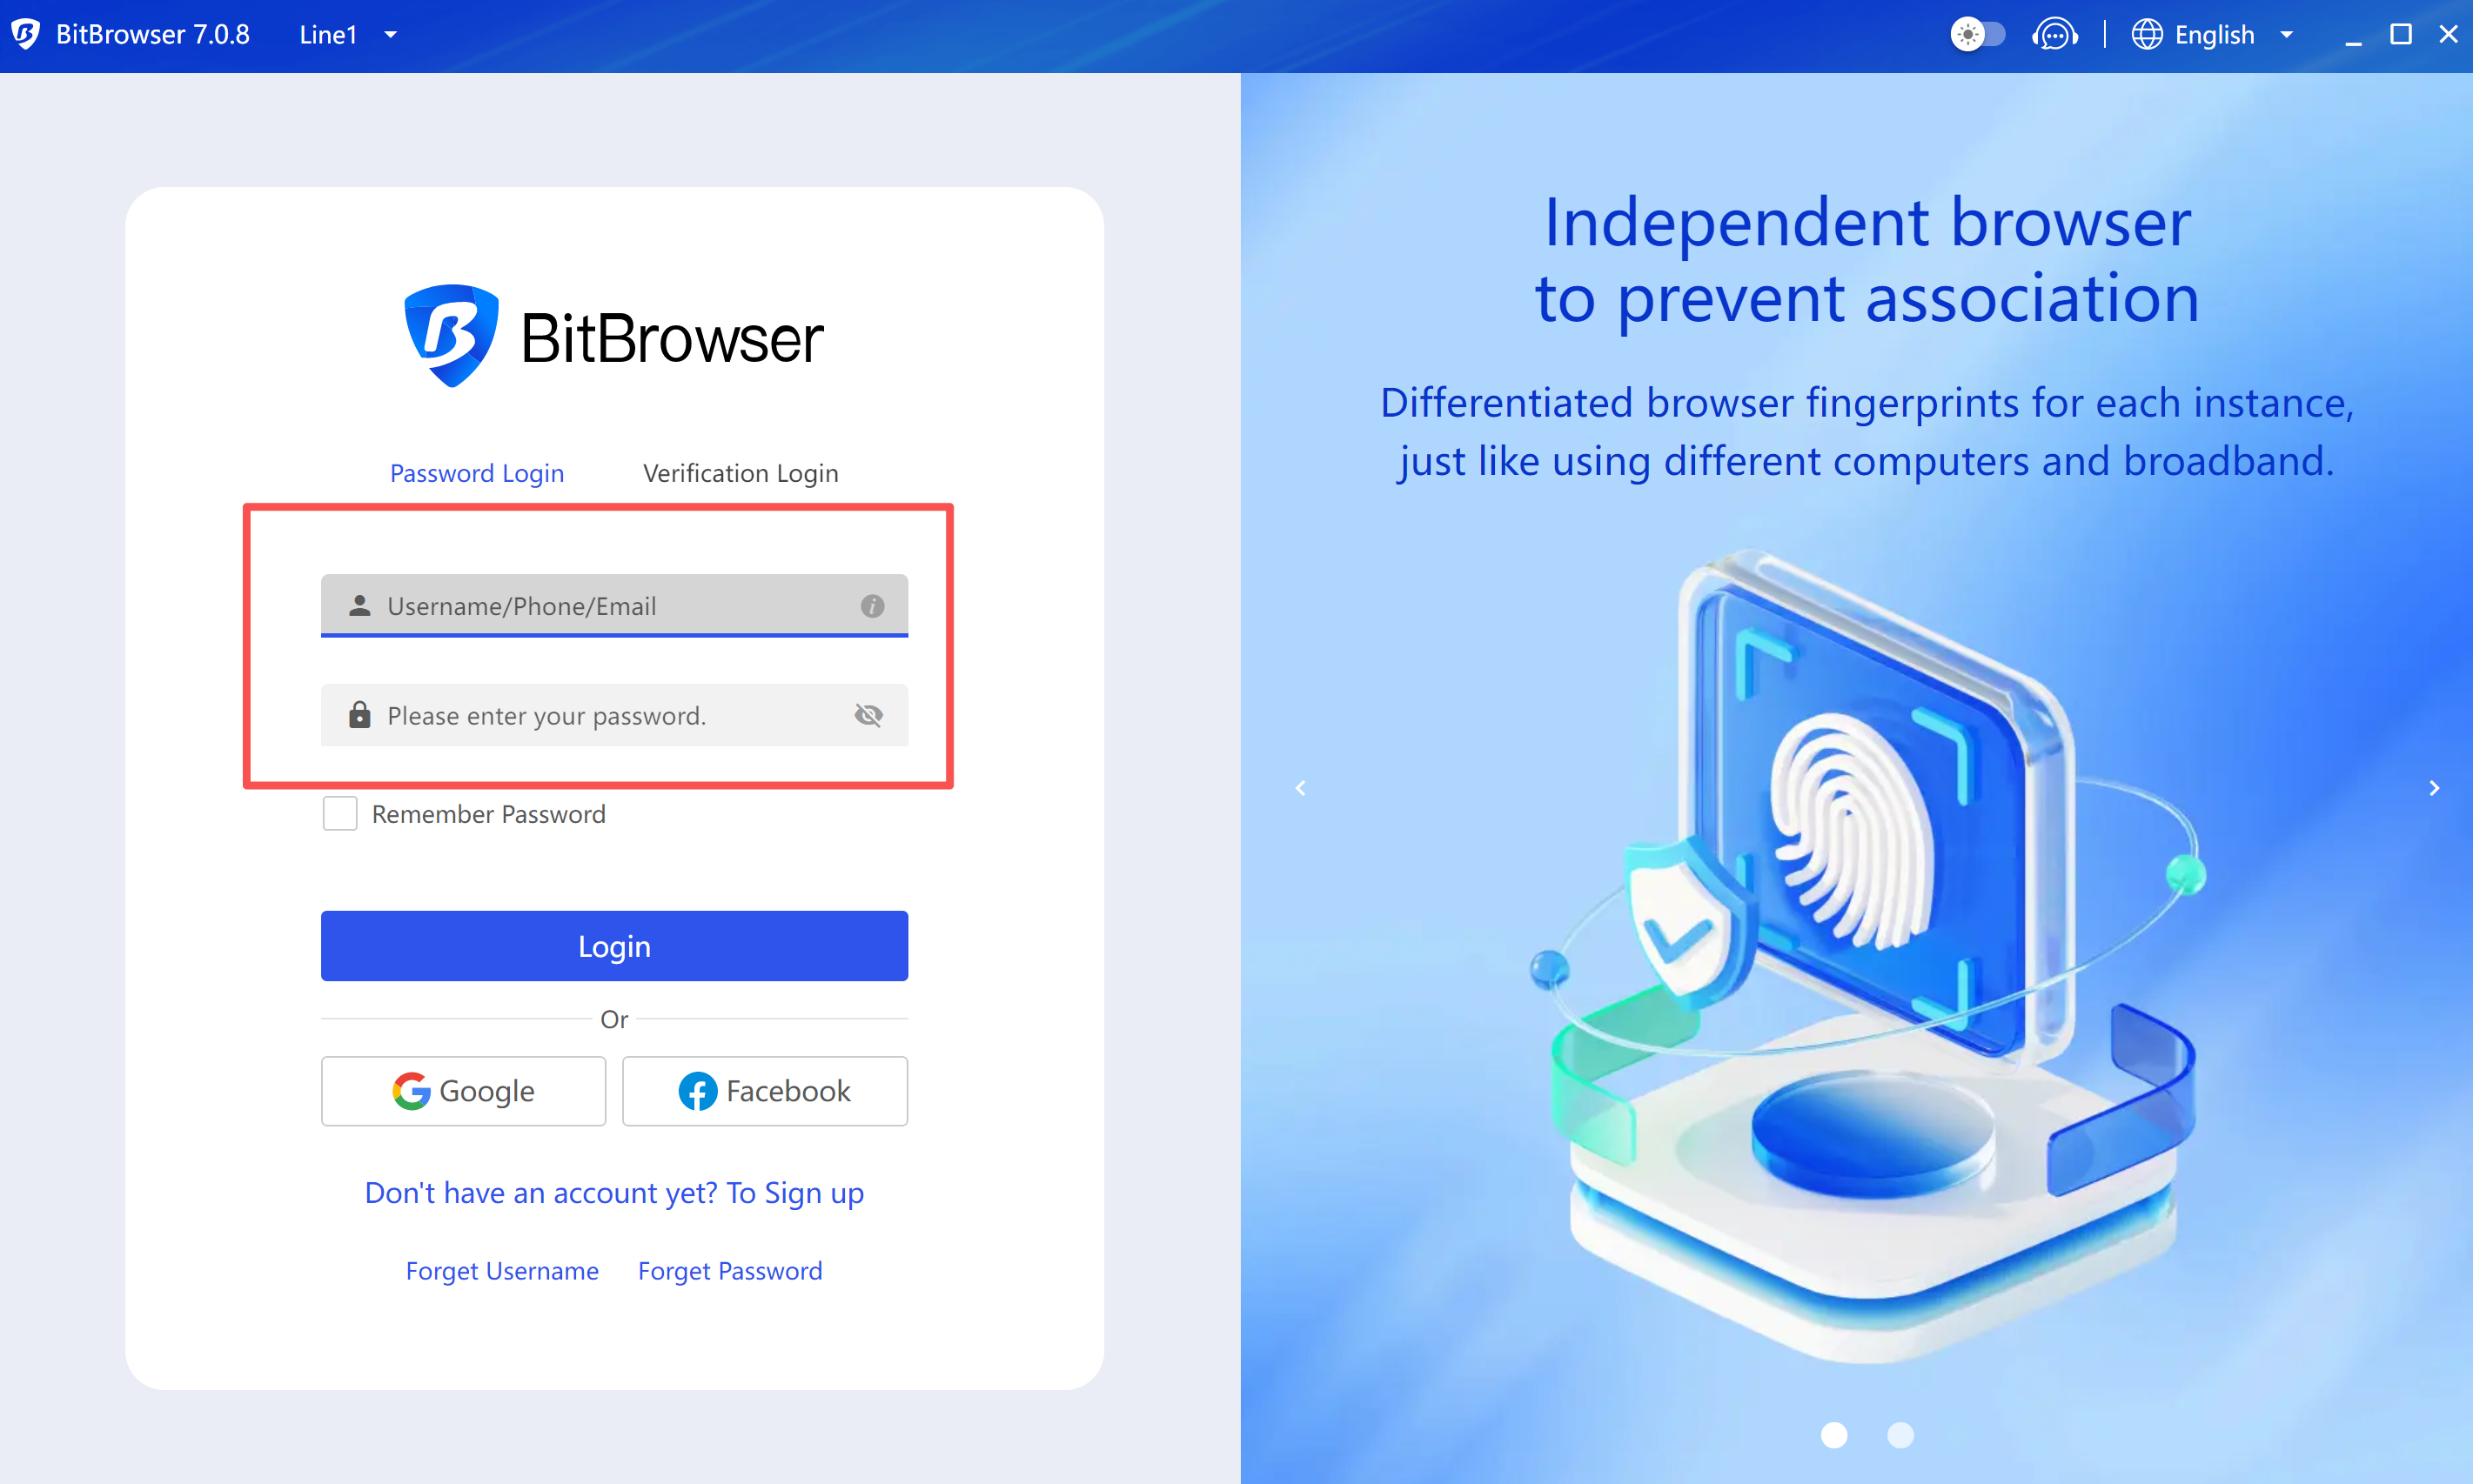
- Launch BitBrowser client
- Log in to your account
Step 3: Create a Browser Window
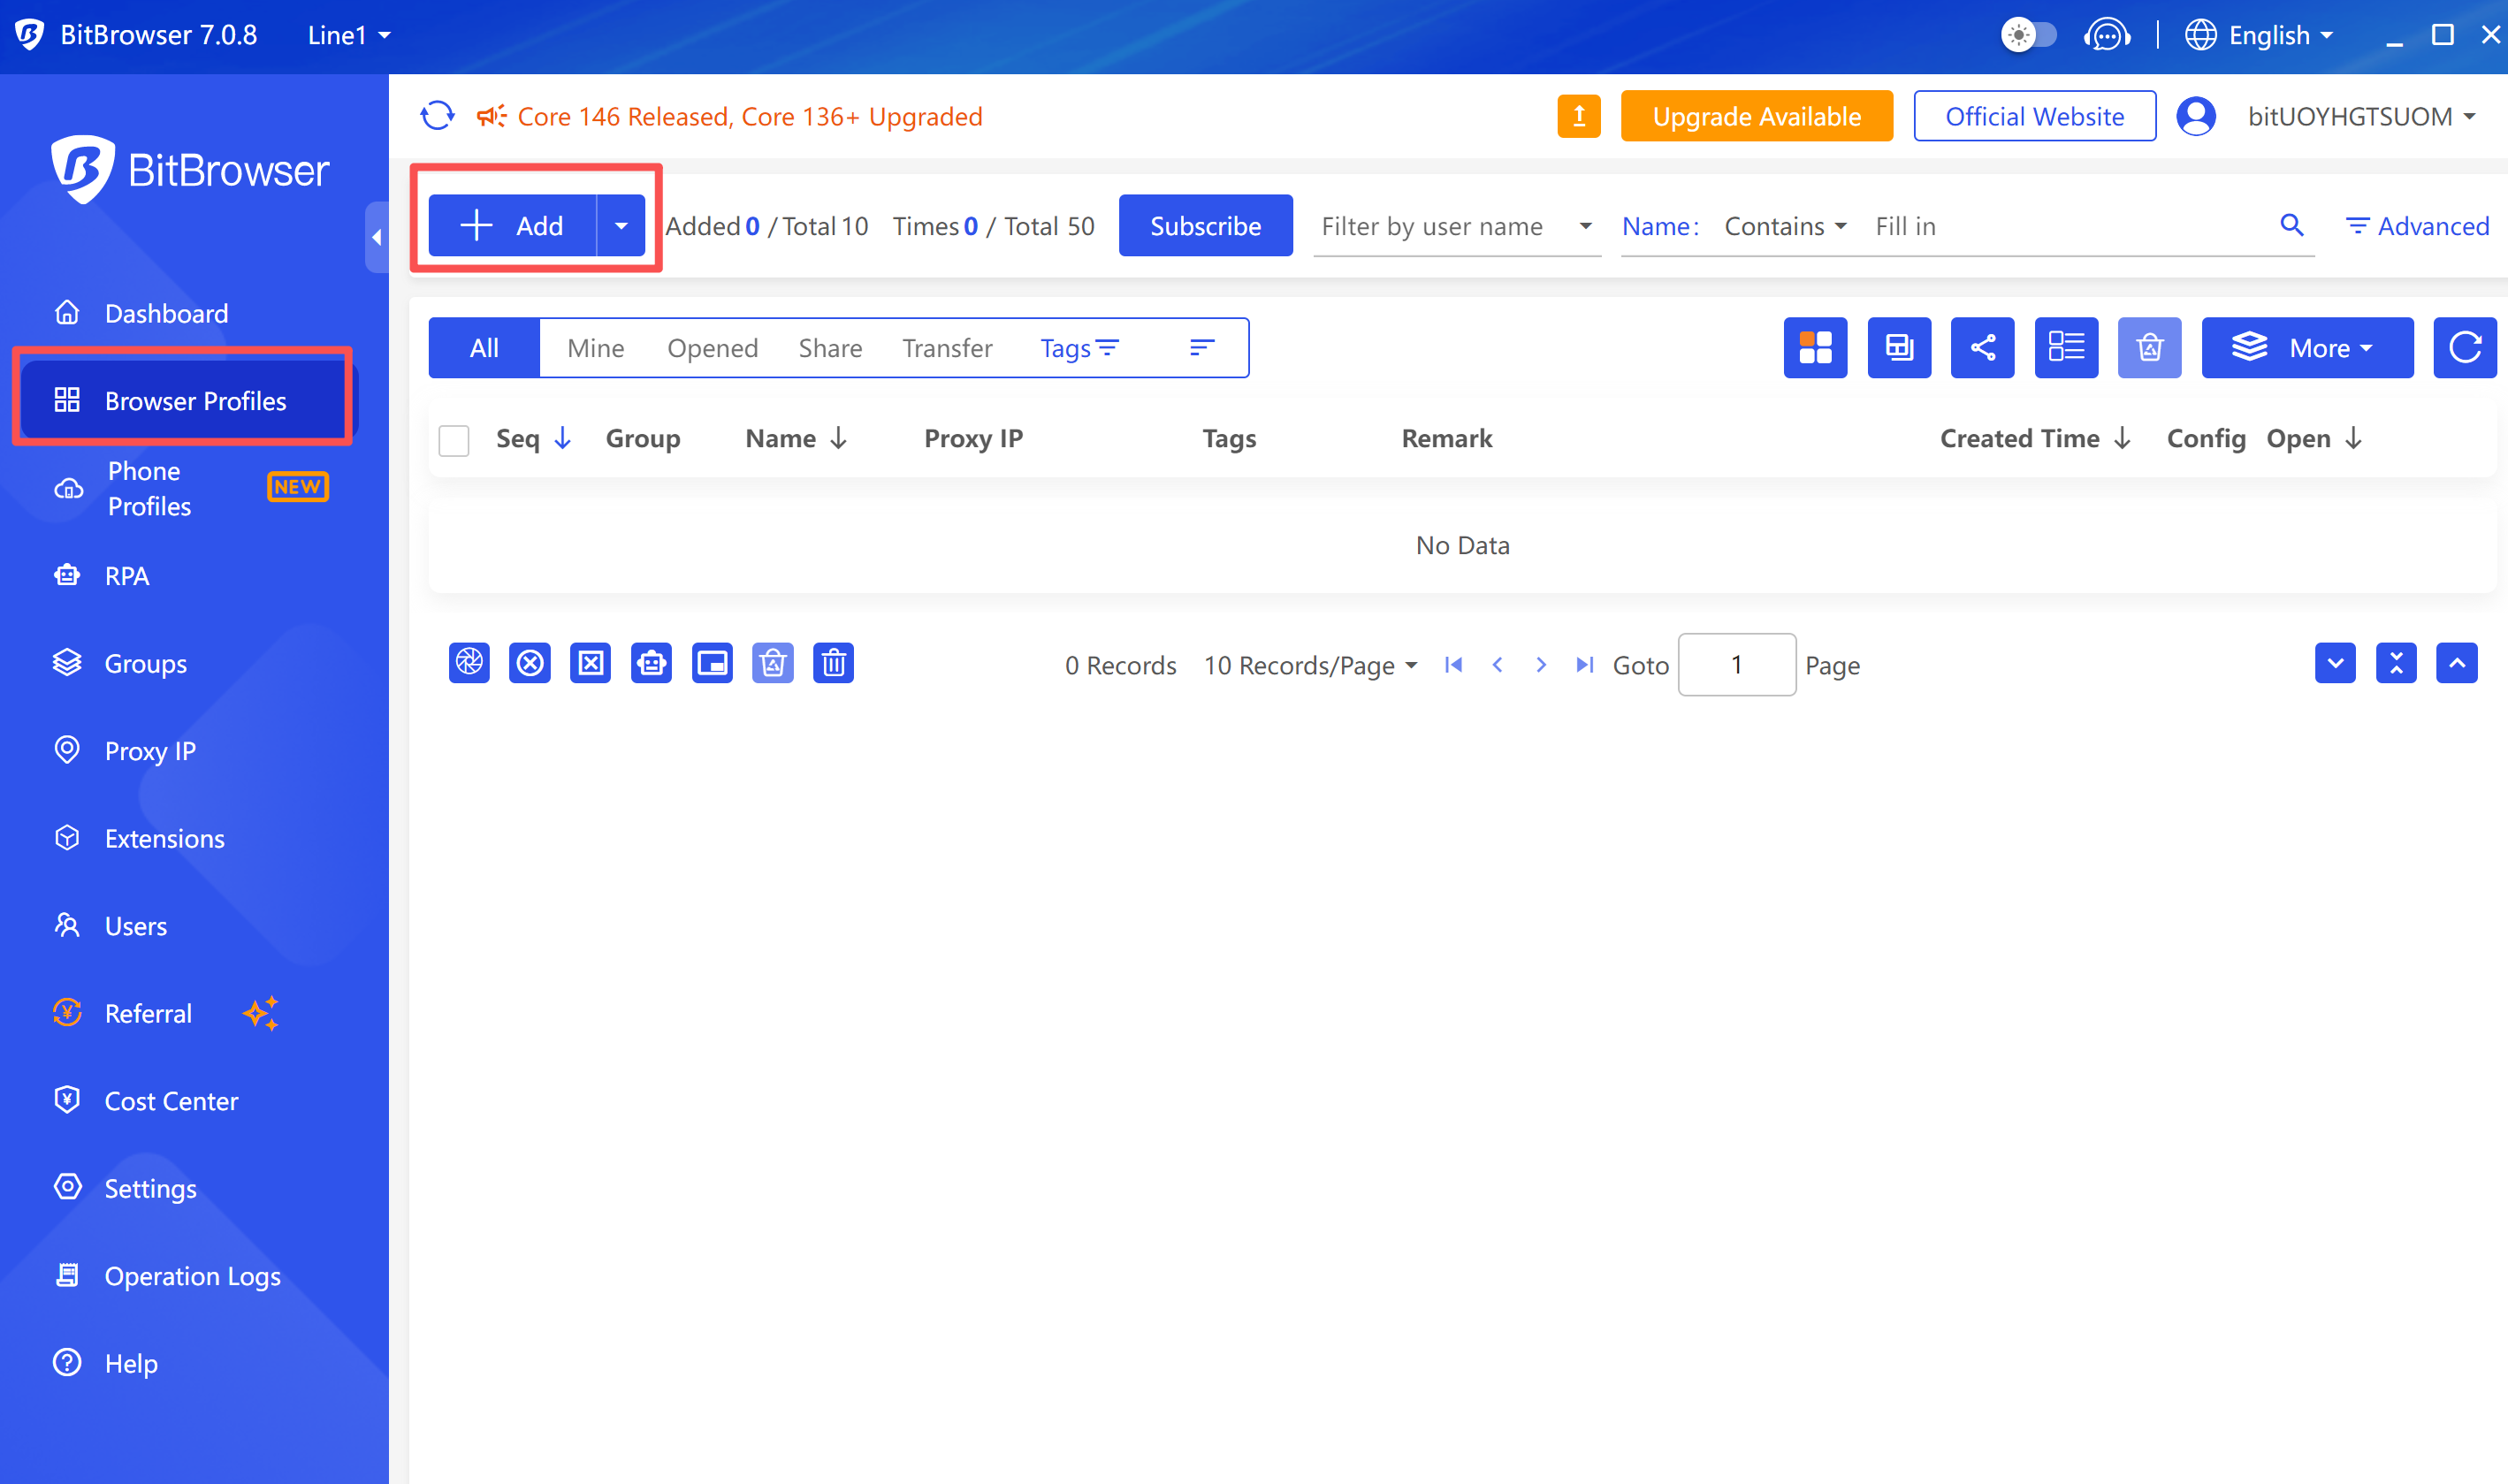
- Click "Create Window" or "New Browser"
- Enter the browser configuration page
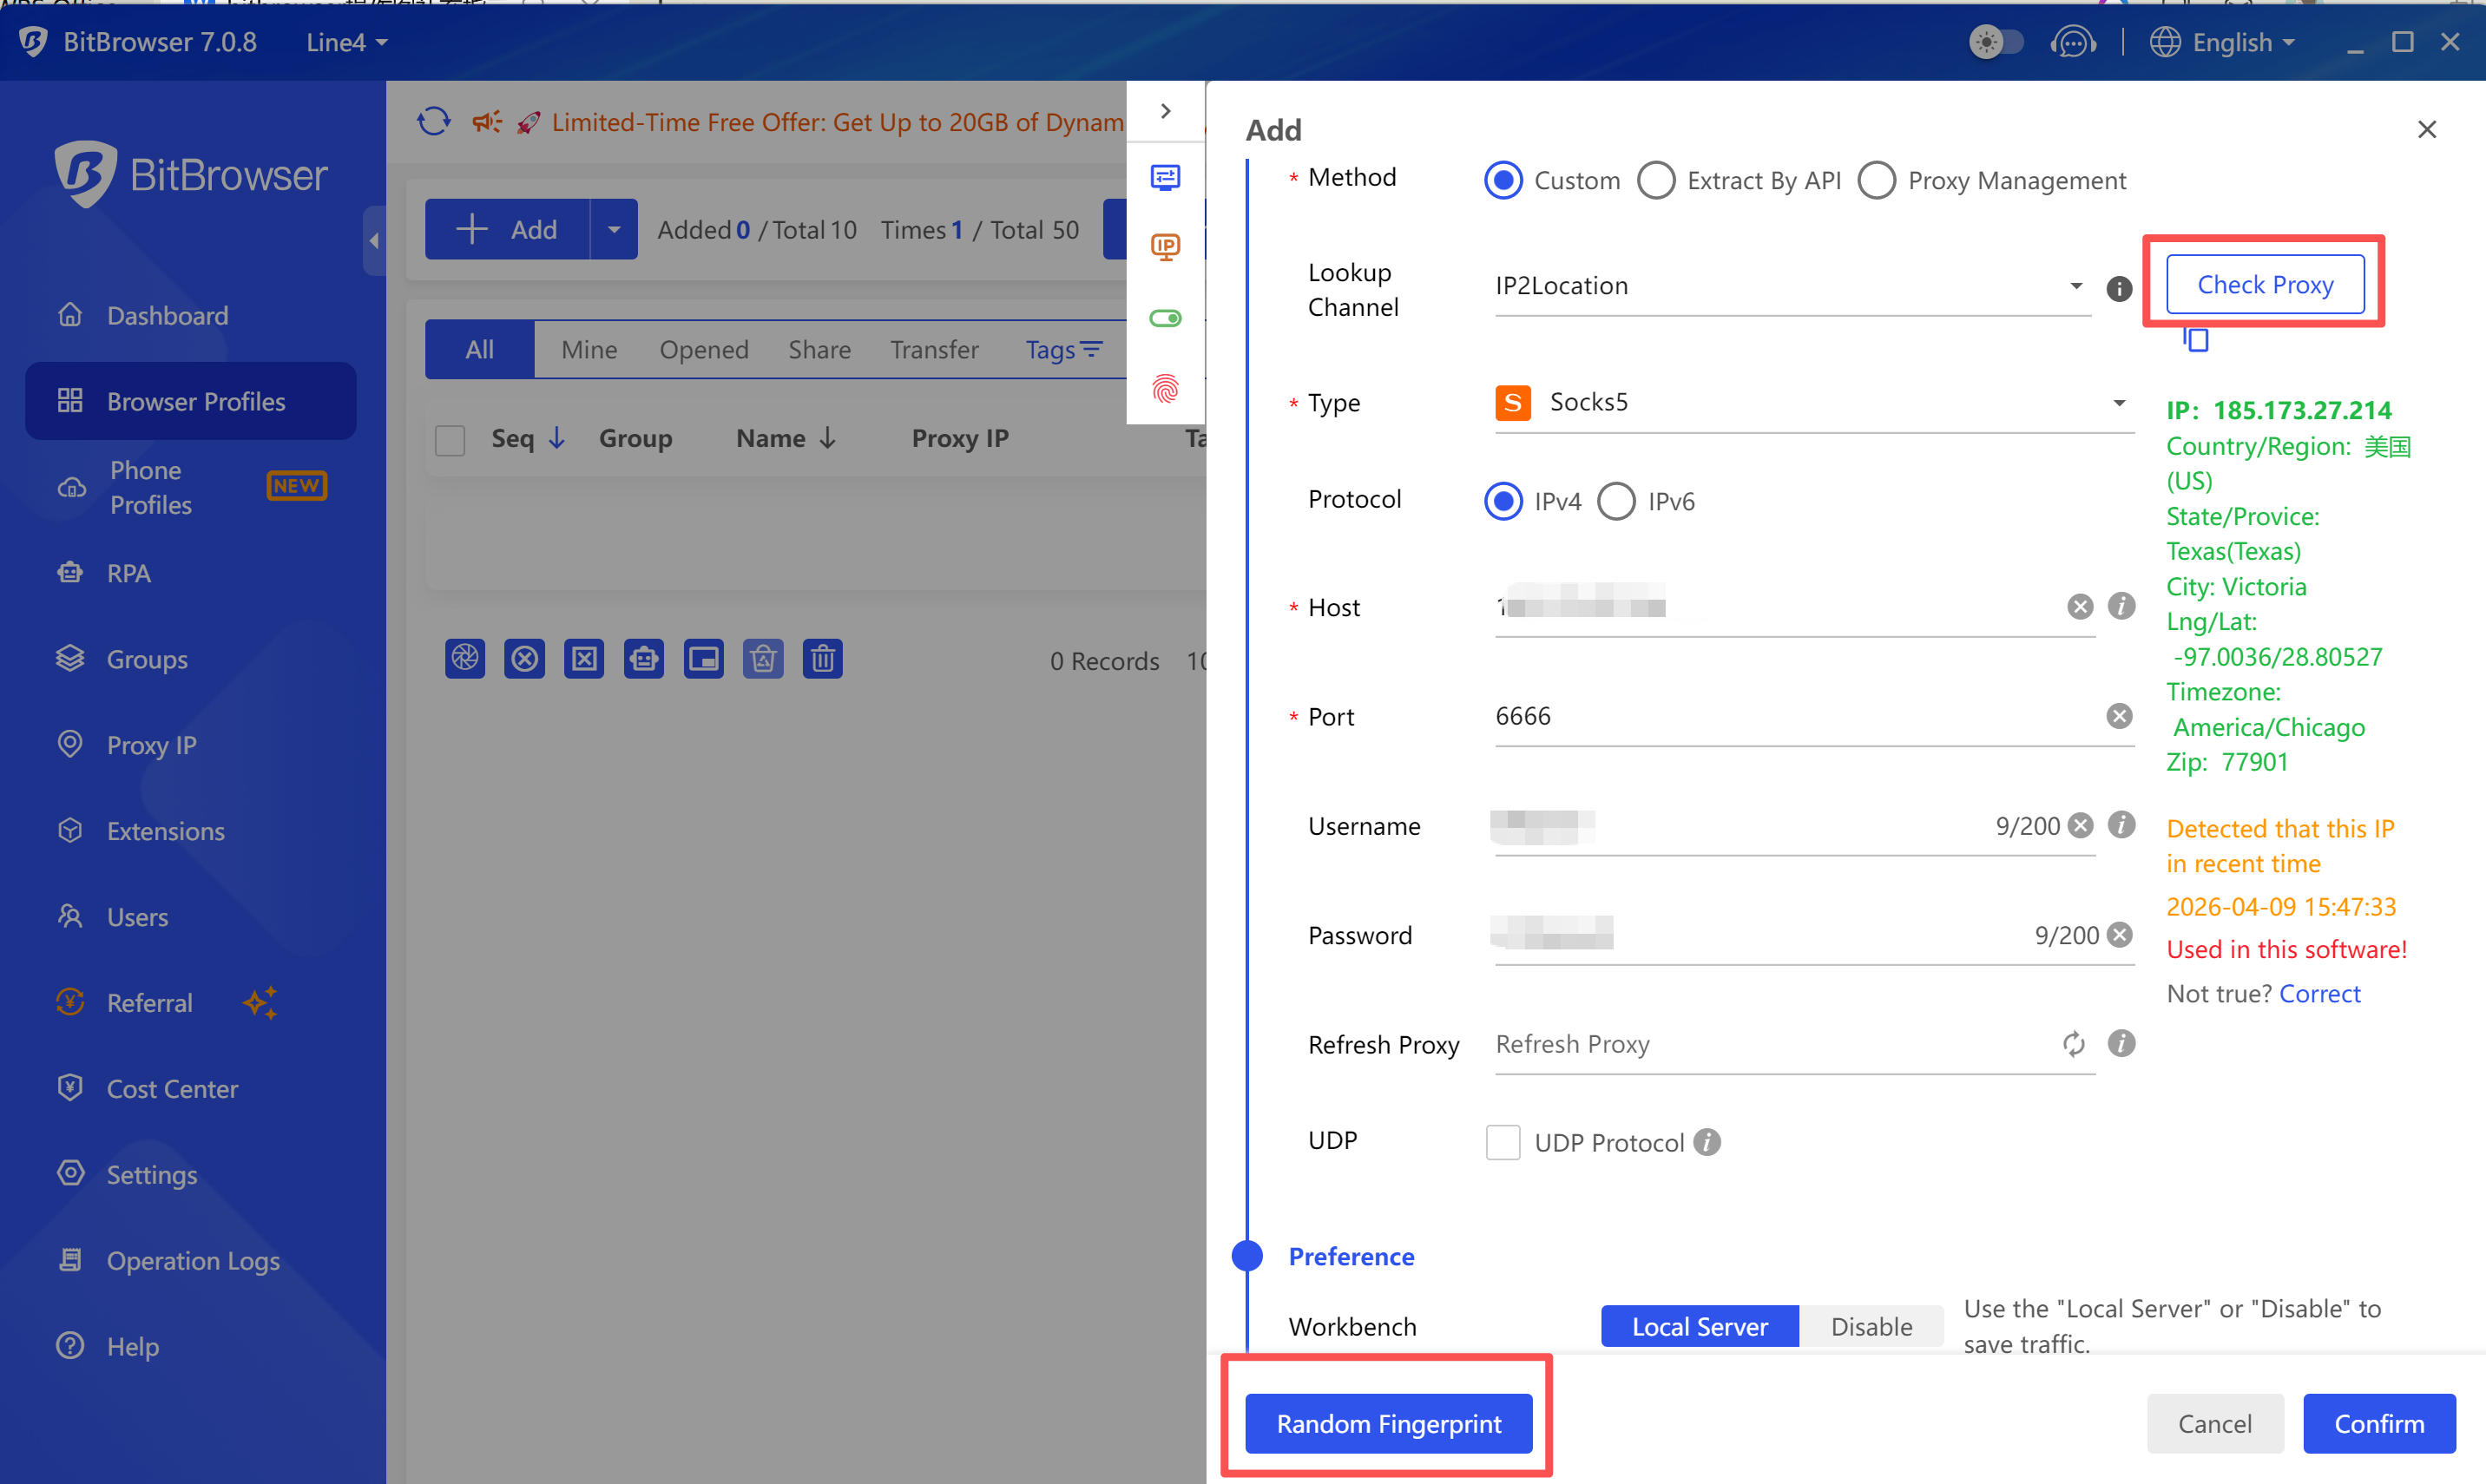
Step 4: Configure Proxy
In the proxy settings section:
Proxy Type: SOCKS5
Proxy Host: proxy.niuproxy.com
Port: xxxx
Username: your_username
Password: your_password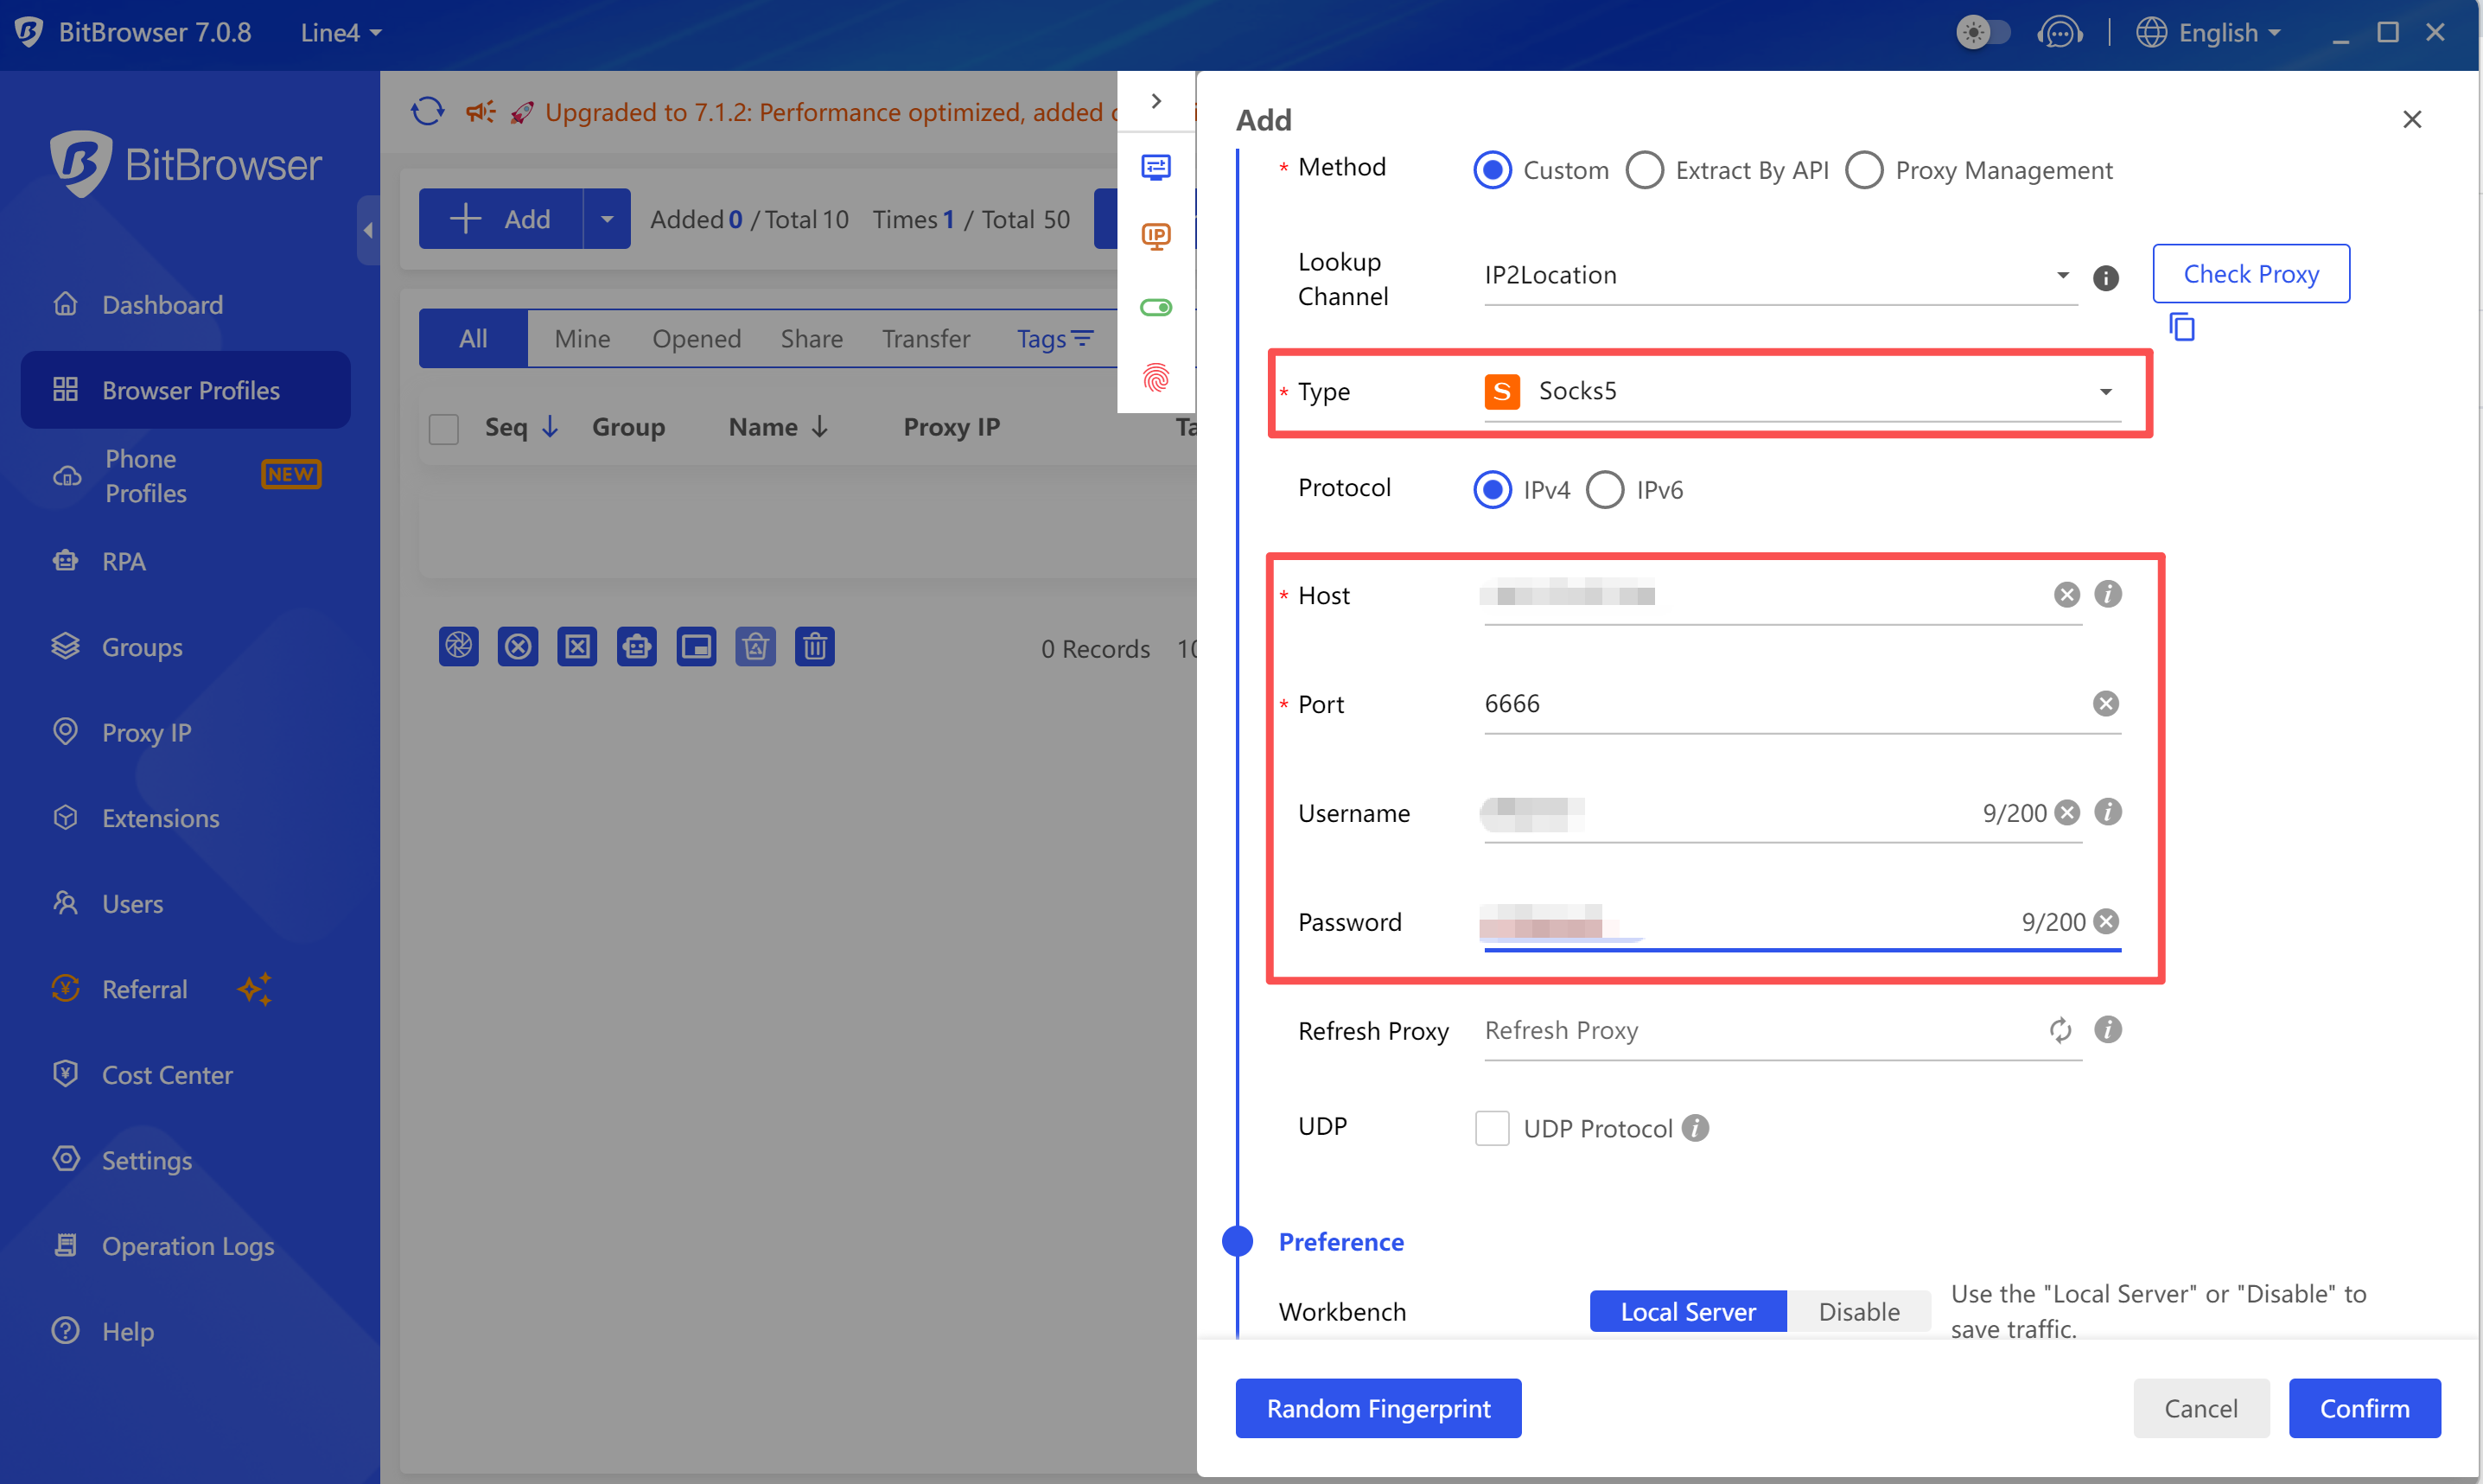
Step 5: Test and Save
- Click "Check Proxy"
- Confirm connection is successful
- Save configuration
Tips
- Use a separate proxy IP for each account
- Configure matching fingerprint information
- Rotate proxies regularly to improve security
Common Issue in China: Why can't I connect after adding a proxy IP in BitBrowser?
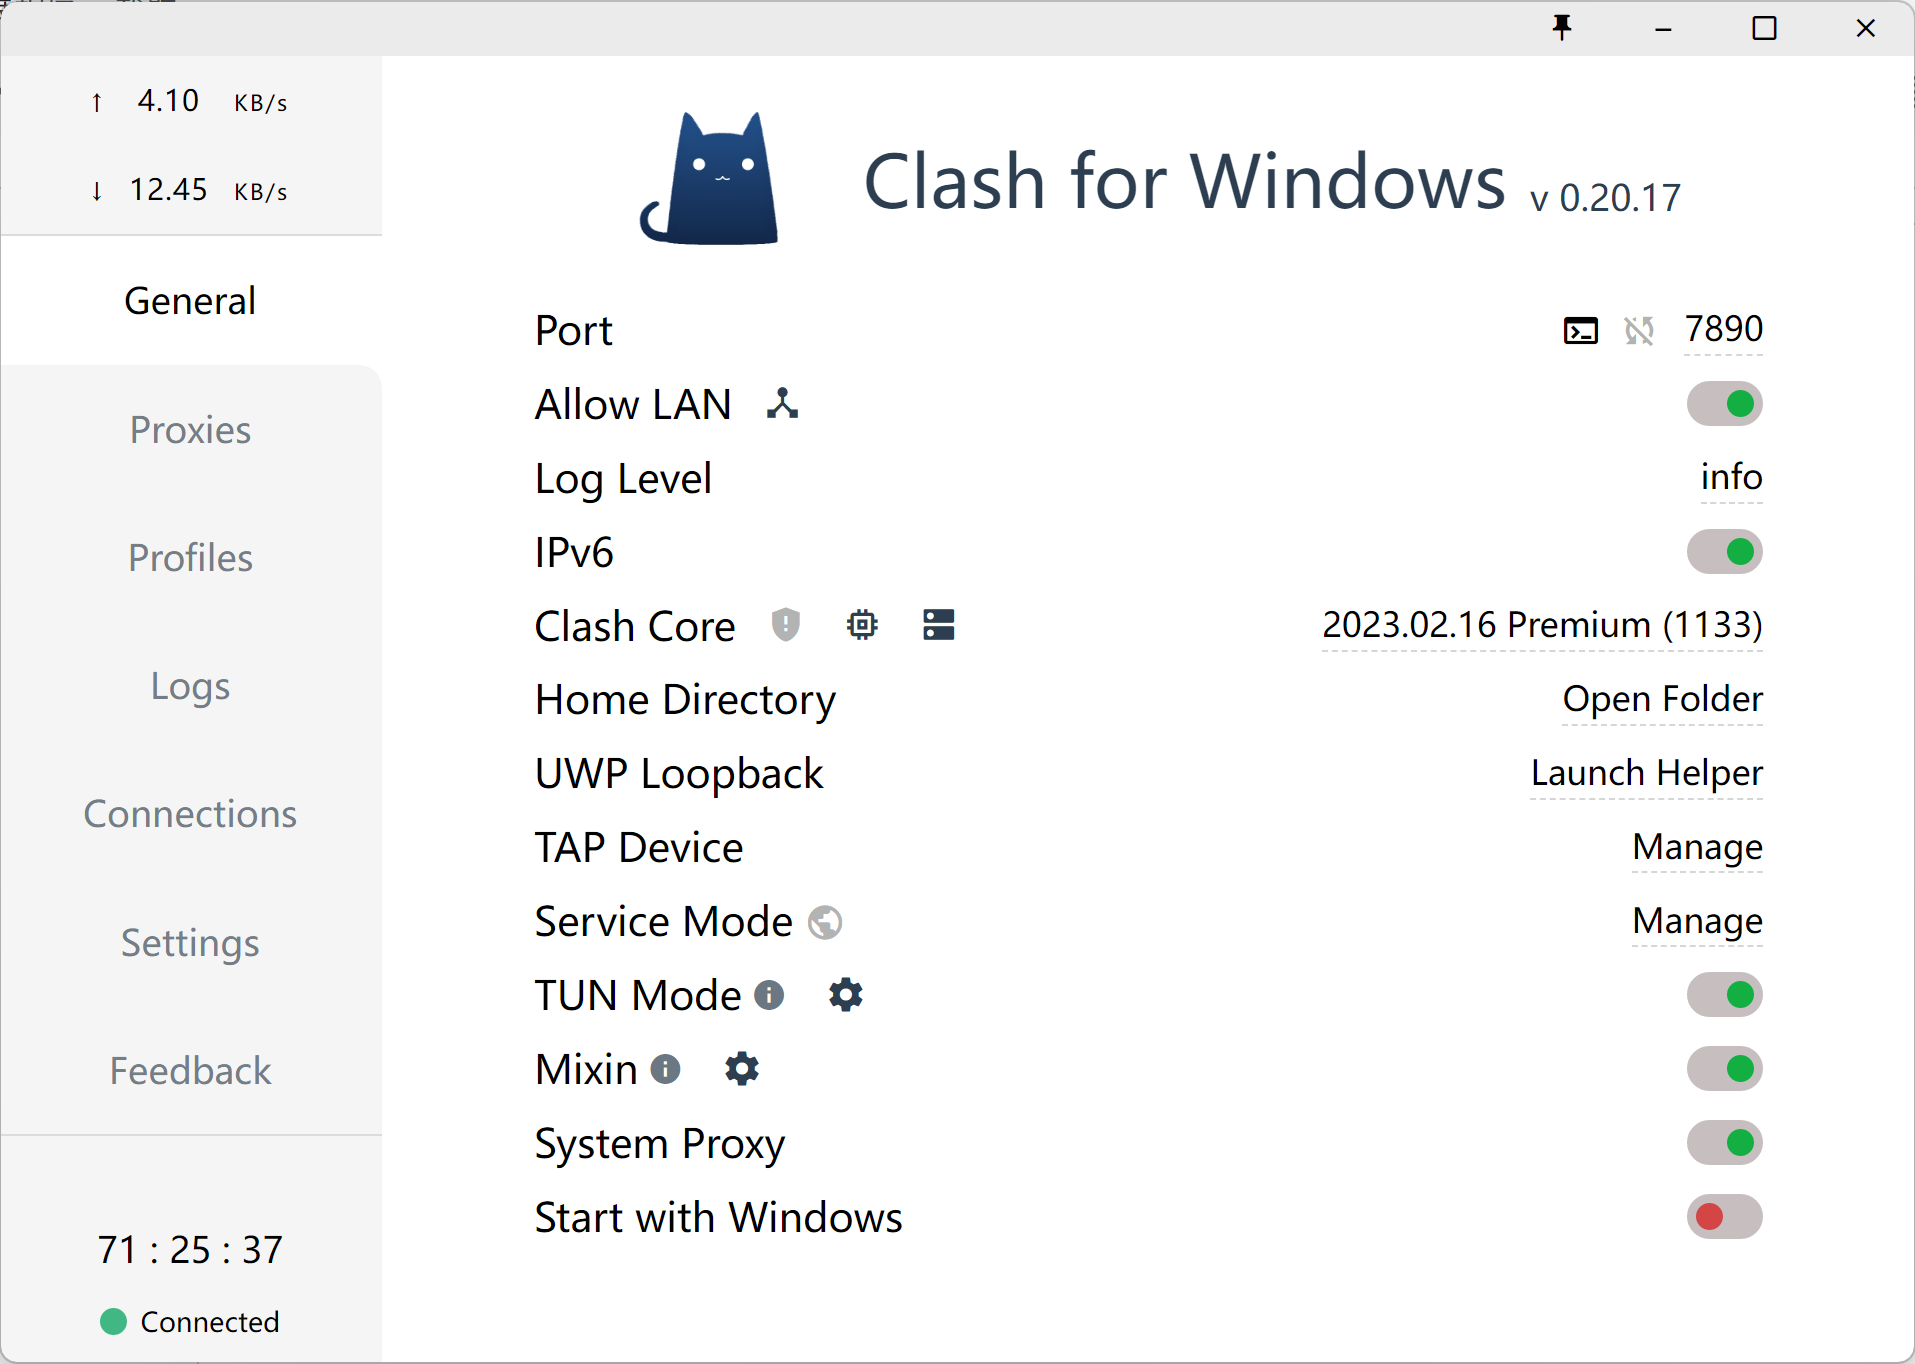
Please make sure you have enabled one of the following tools:
- Clash
- V2Ray
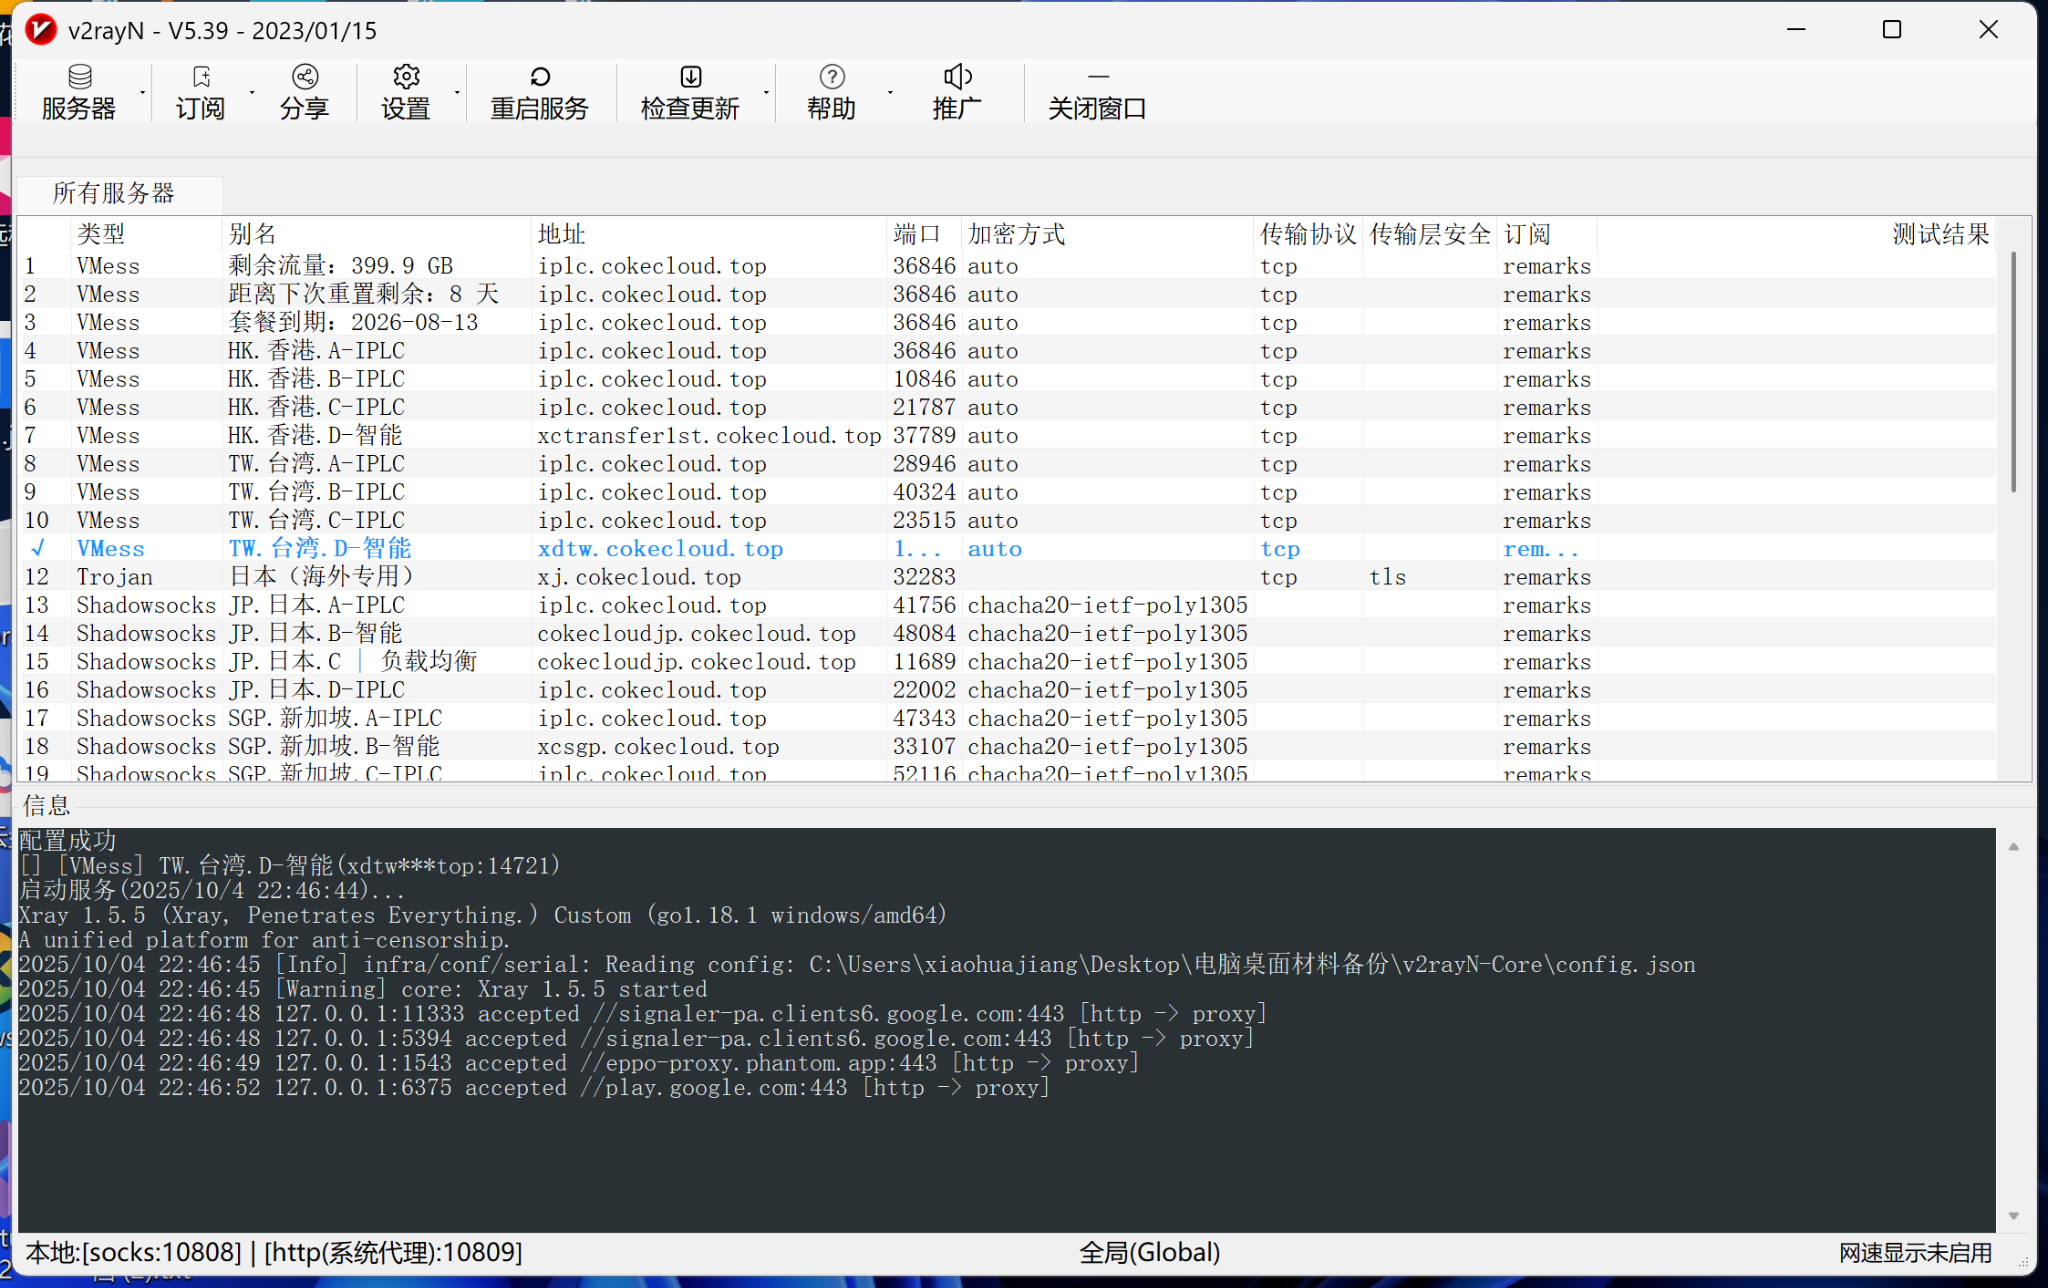
And ensure the tool is in a "connected" state.