Bitbrowser Proxy Configuration Guide
Bitbrowser is a professional fingerprint browser tool focused on e-commerce and social media account management. This tutorial will guide you on how to configure NiuProxy in Bitbrowser.
Prerequisites
- Bitbrowser client installed (https://www.bitbrowser.net/)
- NiuProxy account with available proxy services
- Obtained proxy server address and authentication information
Configuration Steps
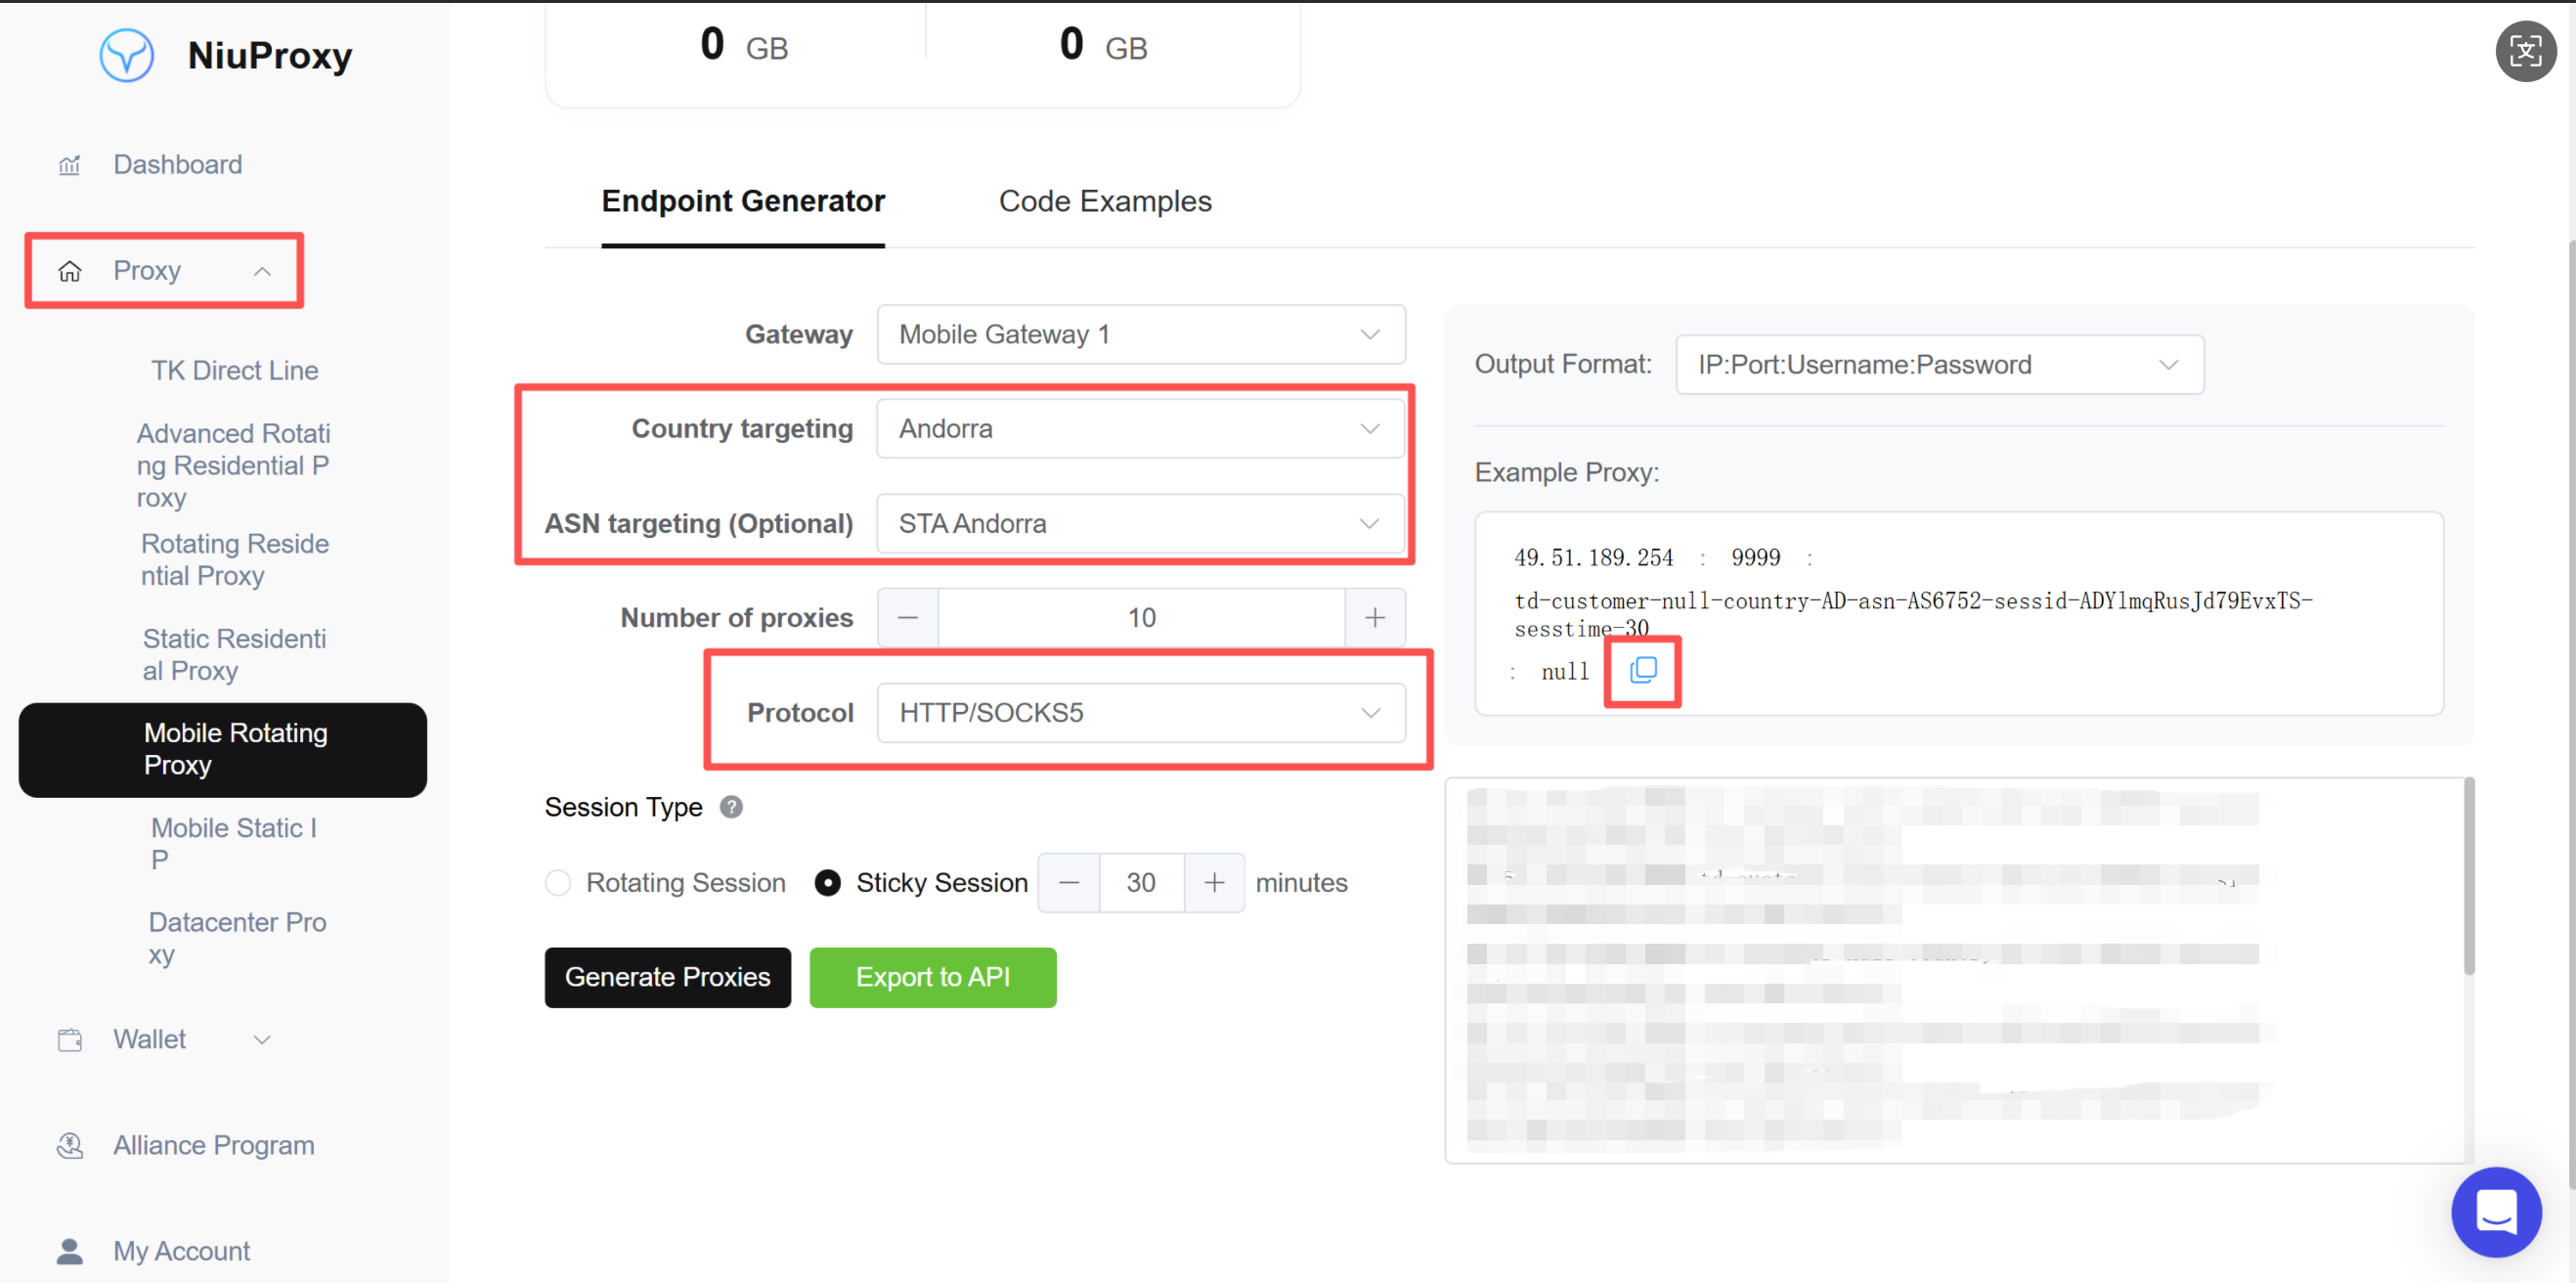
Step 1: Get Proxy Information
- Log in to NiuProxy management panel
- Go to "Proxy Management" page
- Record the following information:
- Proxy server address: Gateway address
- Port number: Port number
- Username: Your username
- Password: Your password
Step 2: Open Bitbrowser
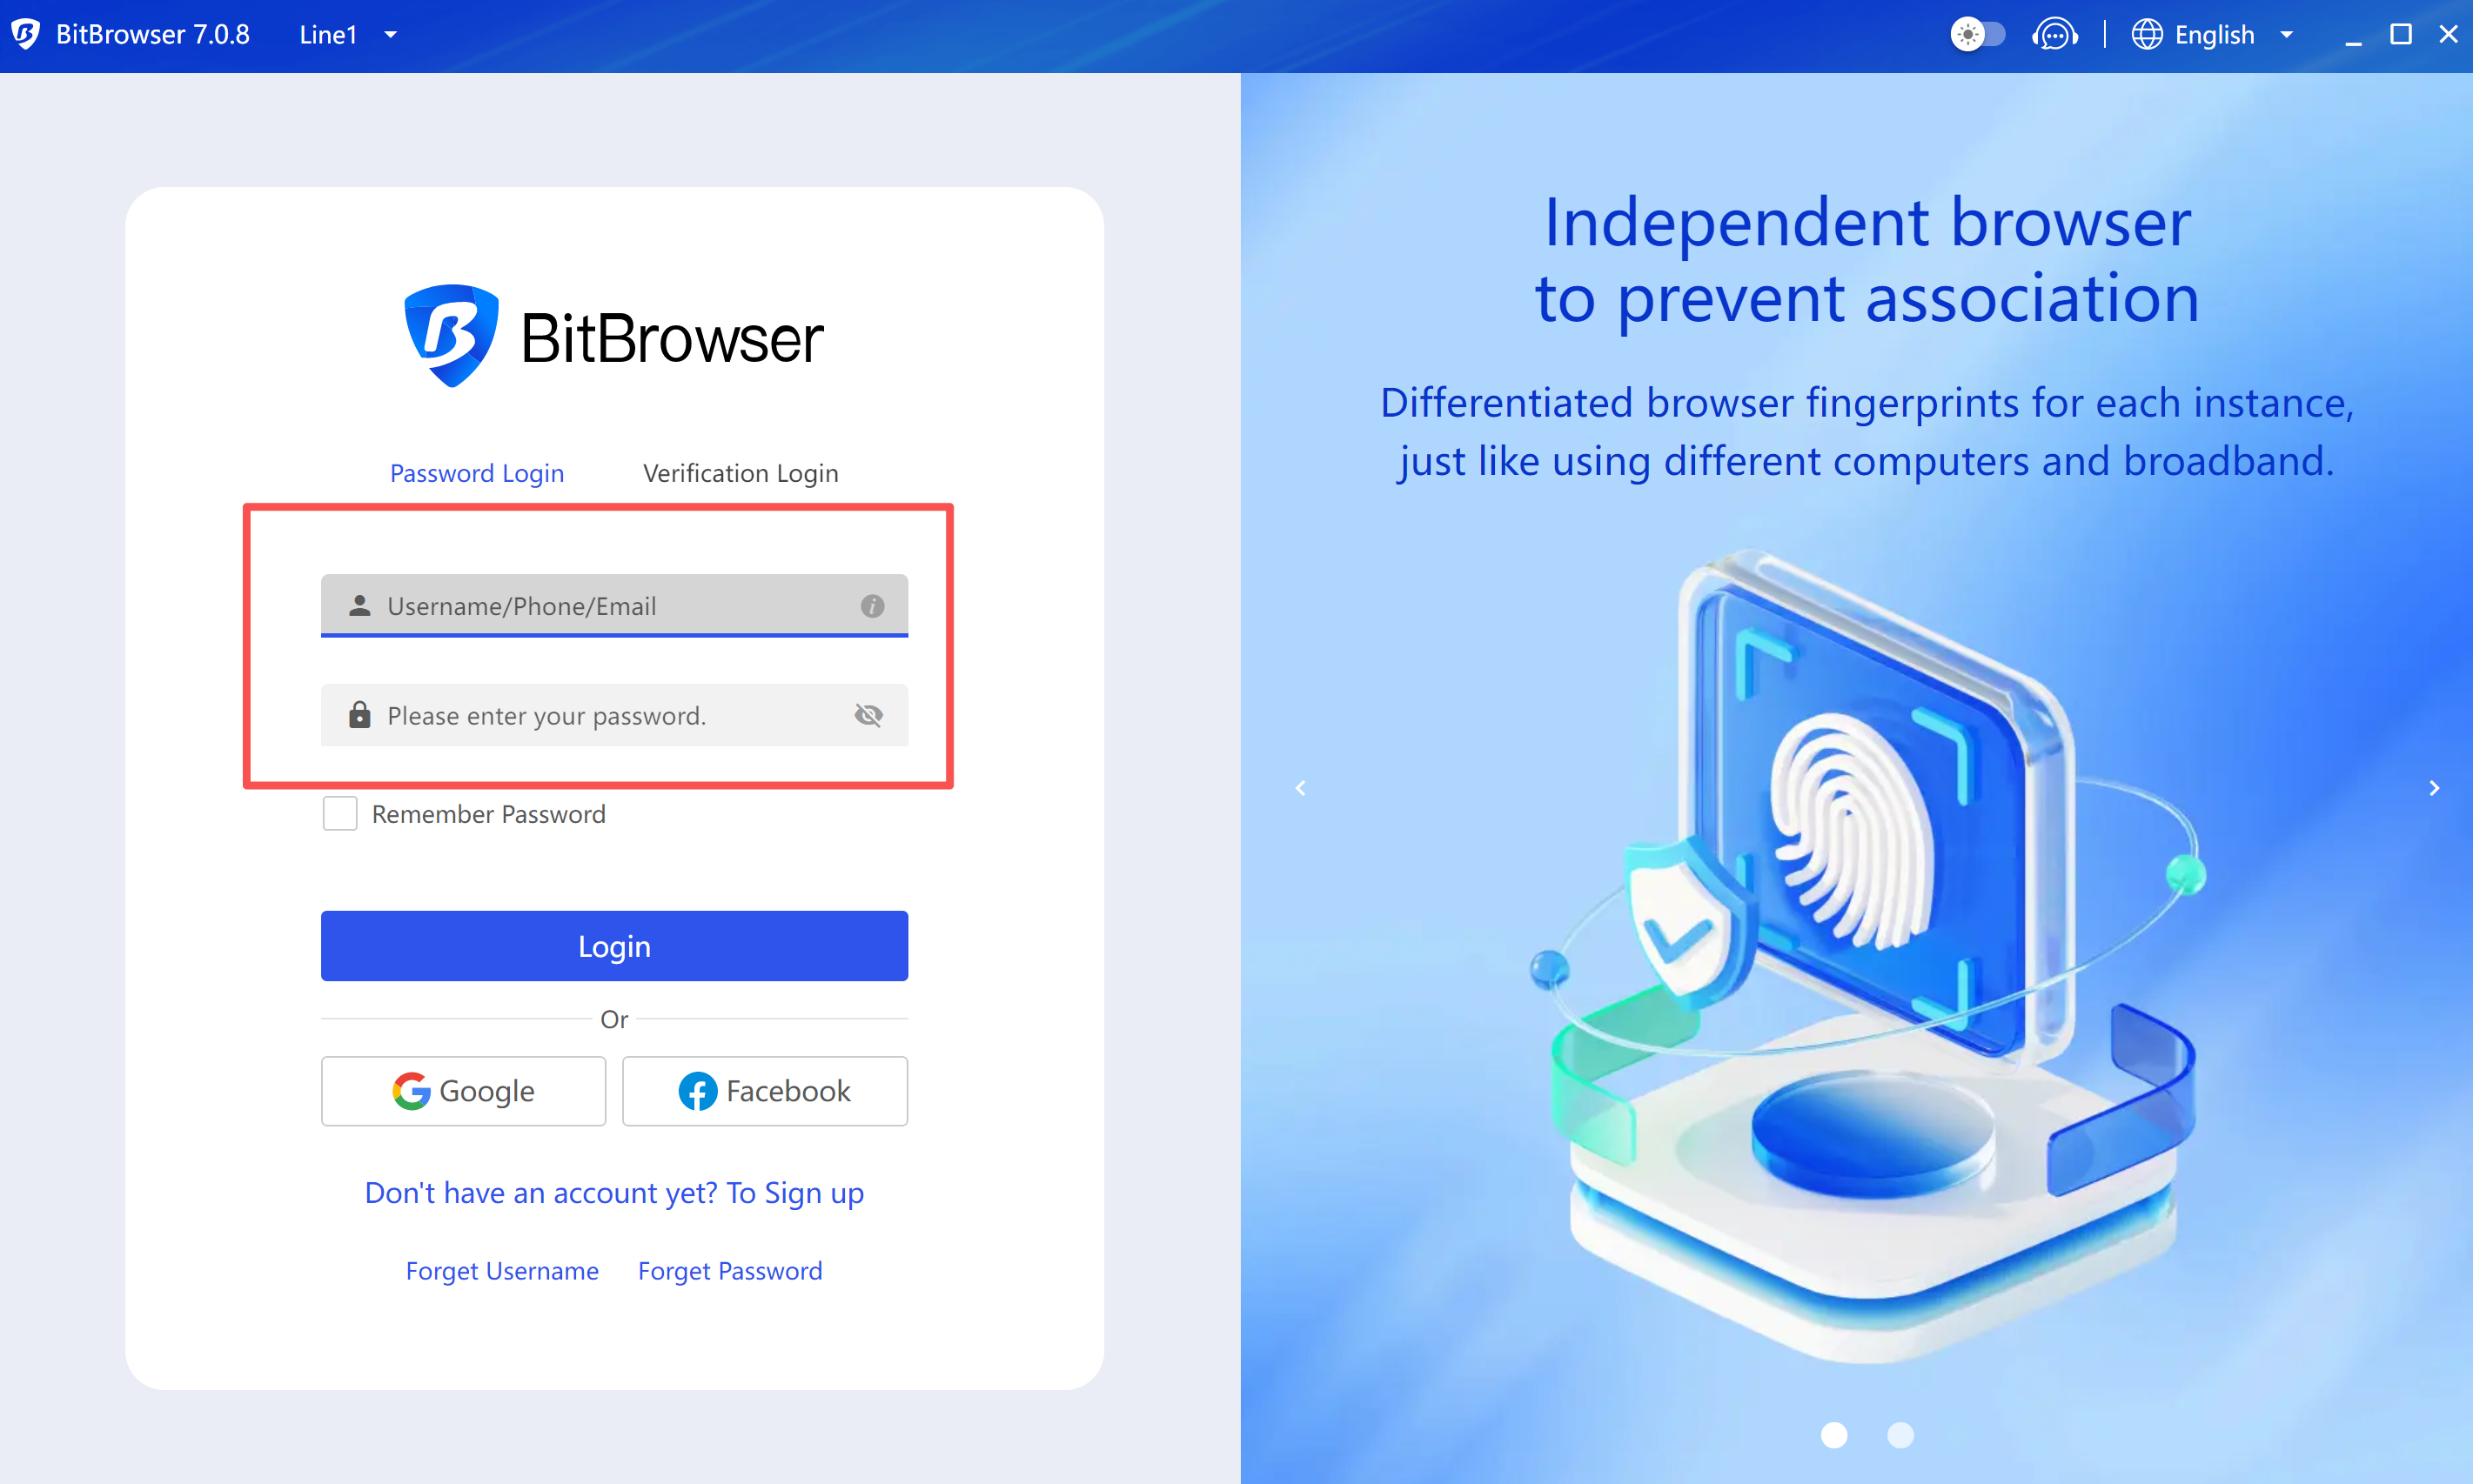
- Launch Bitbrowser application
- Log in to your Bitbrowser account
Step 3: Create New Browser Profile
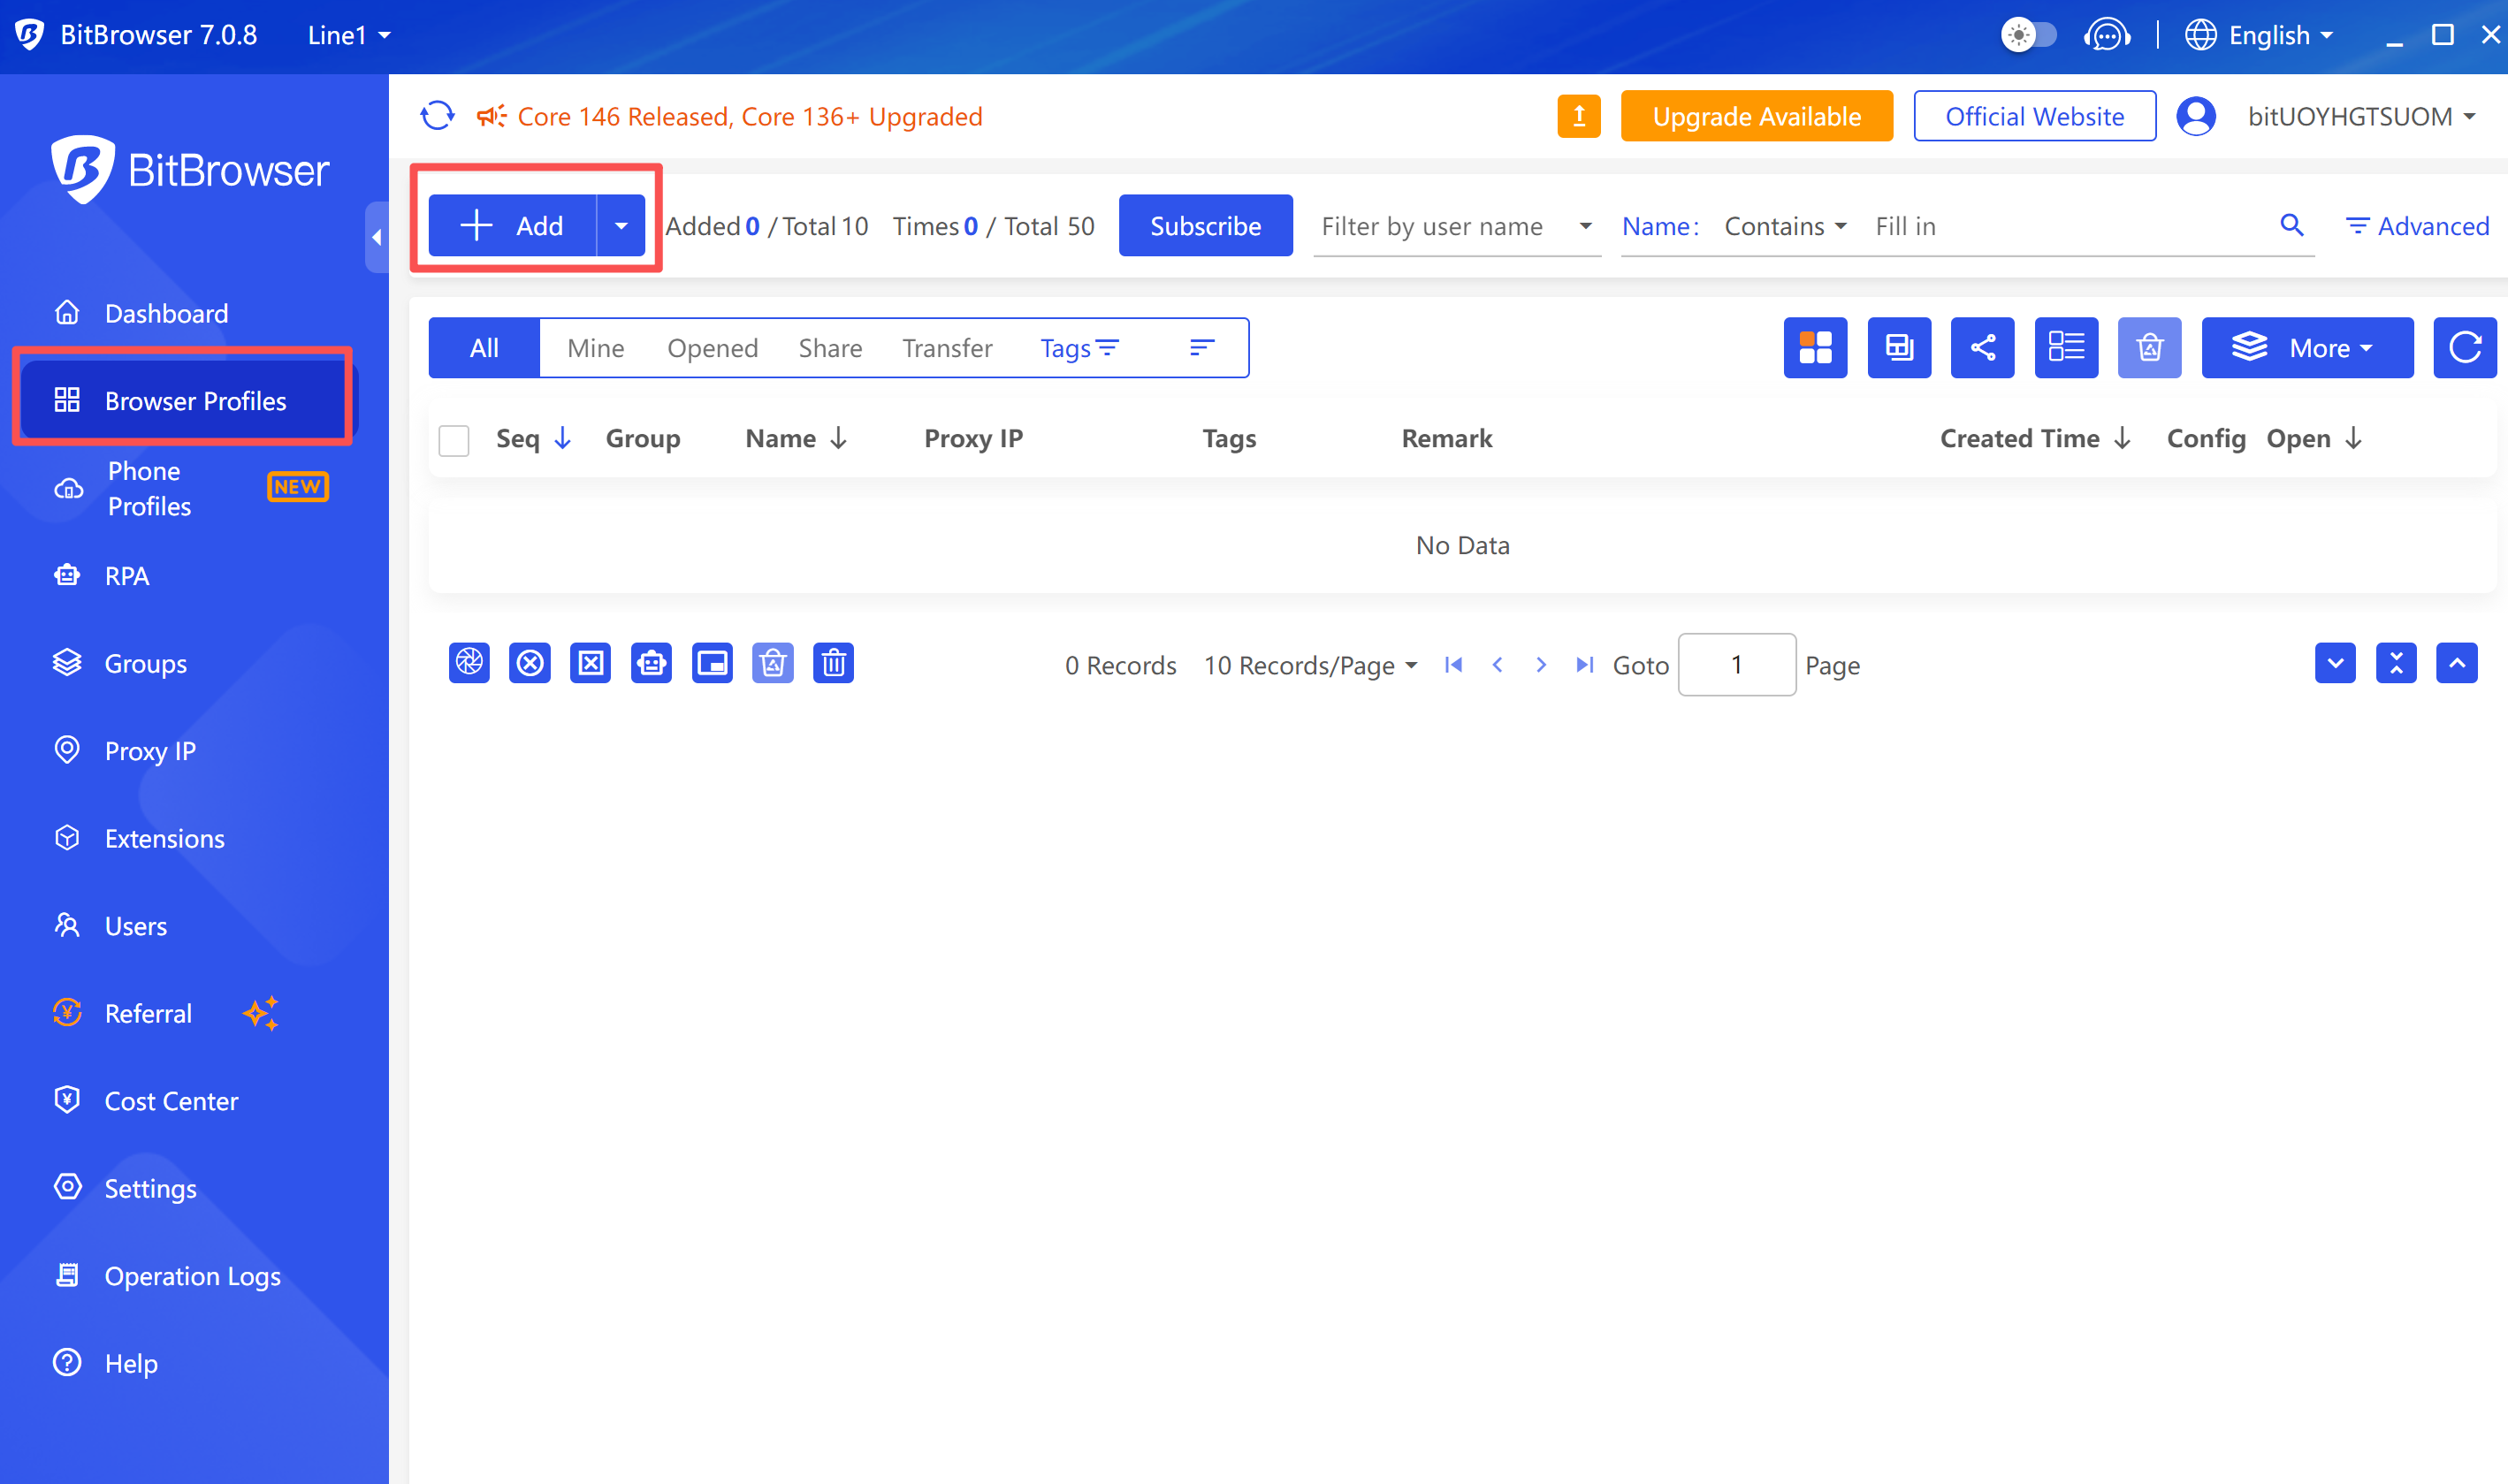
- Click the "New Browser" button on the main interface
- Or edit an existing browser profile
Step 4: Configure Proxy Settings
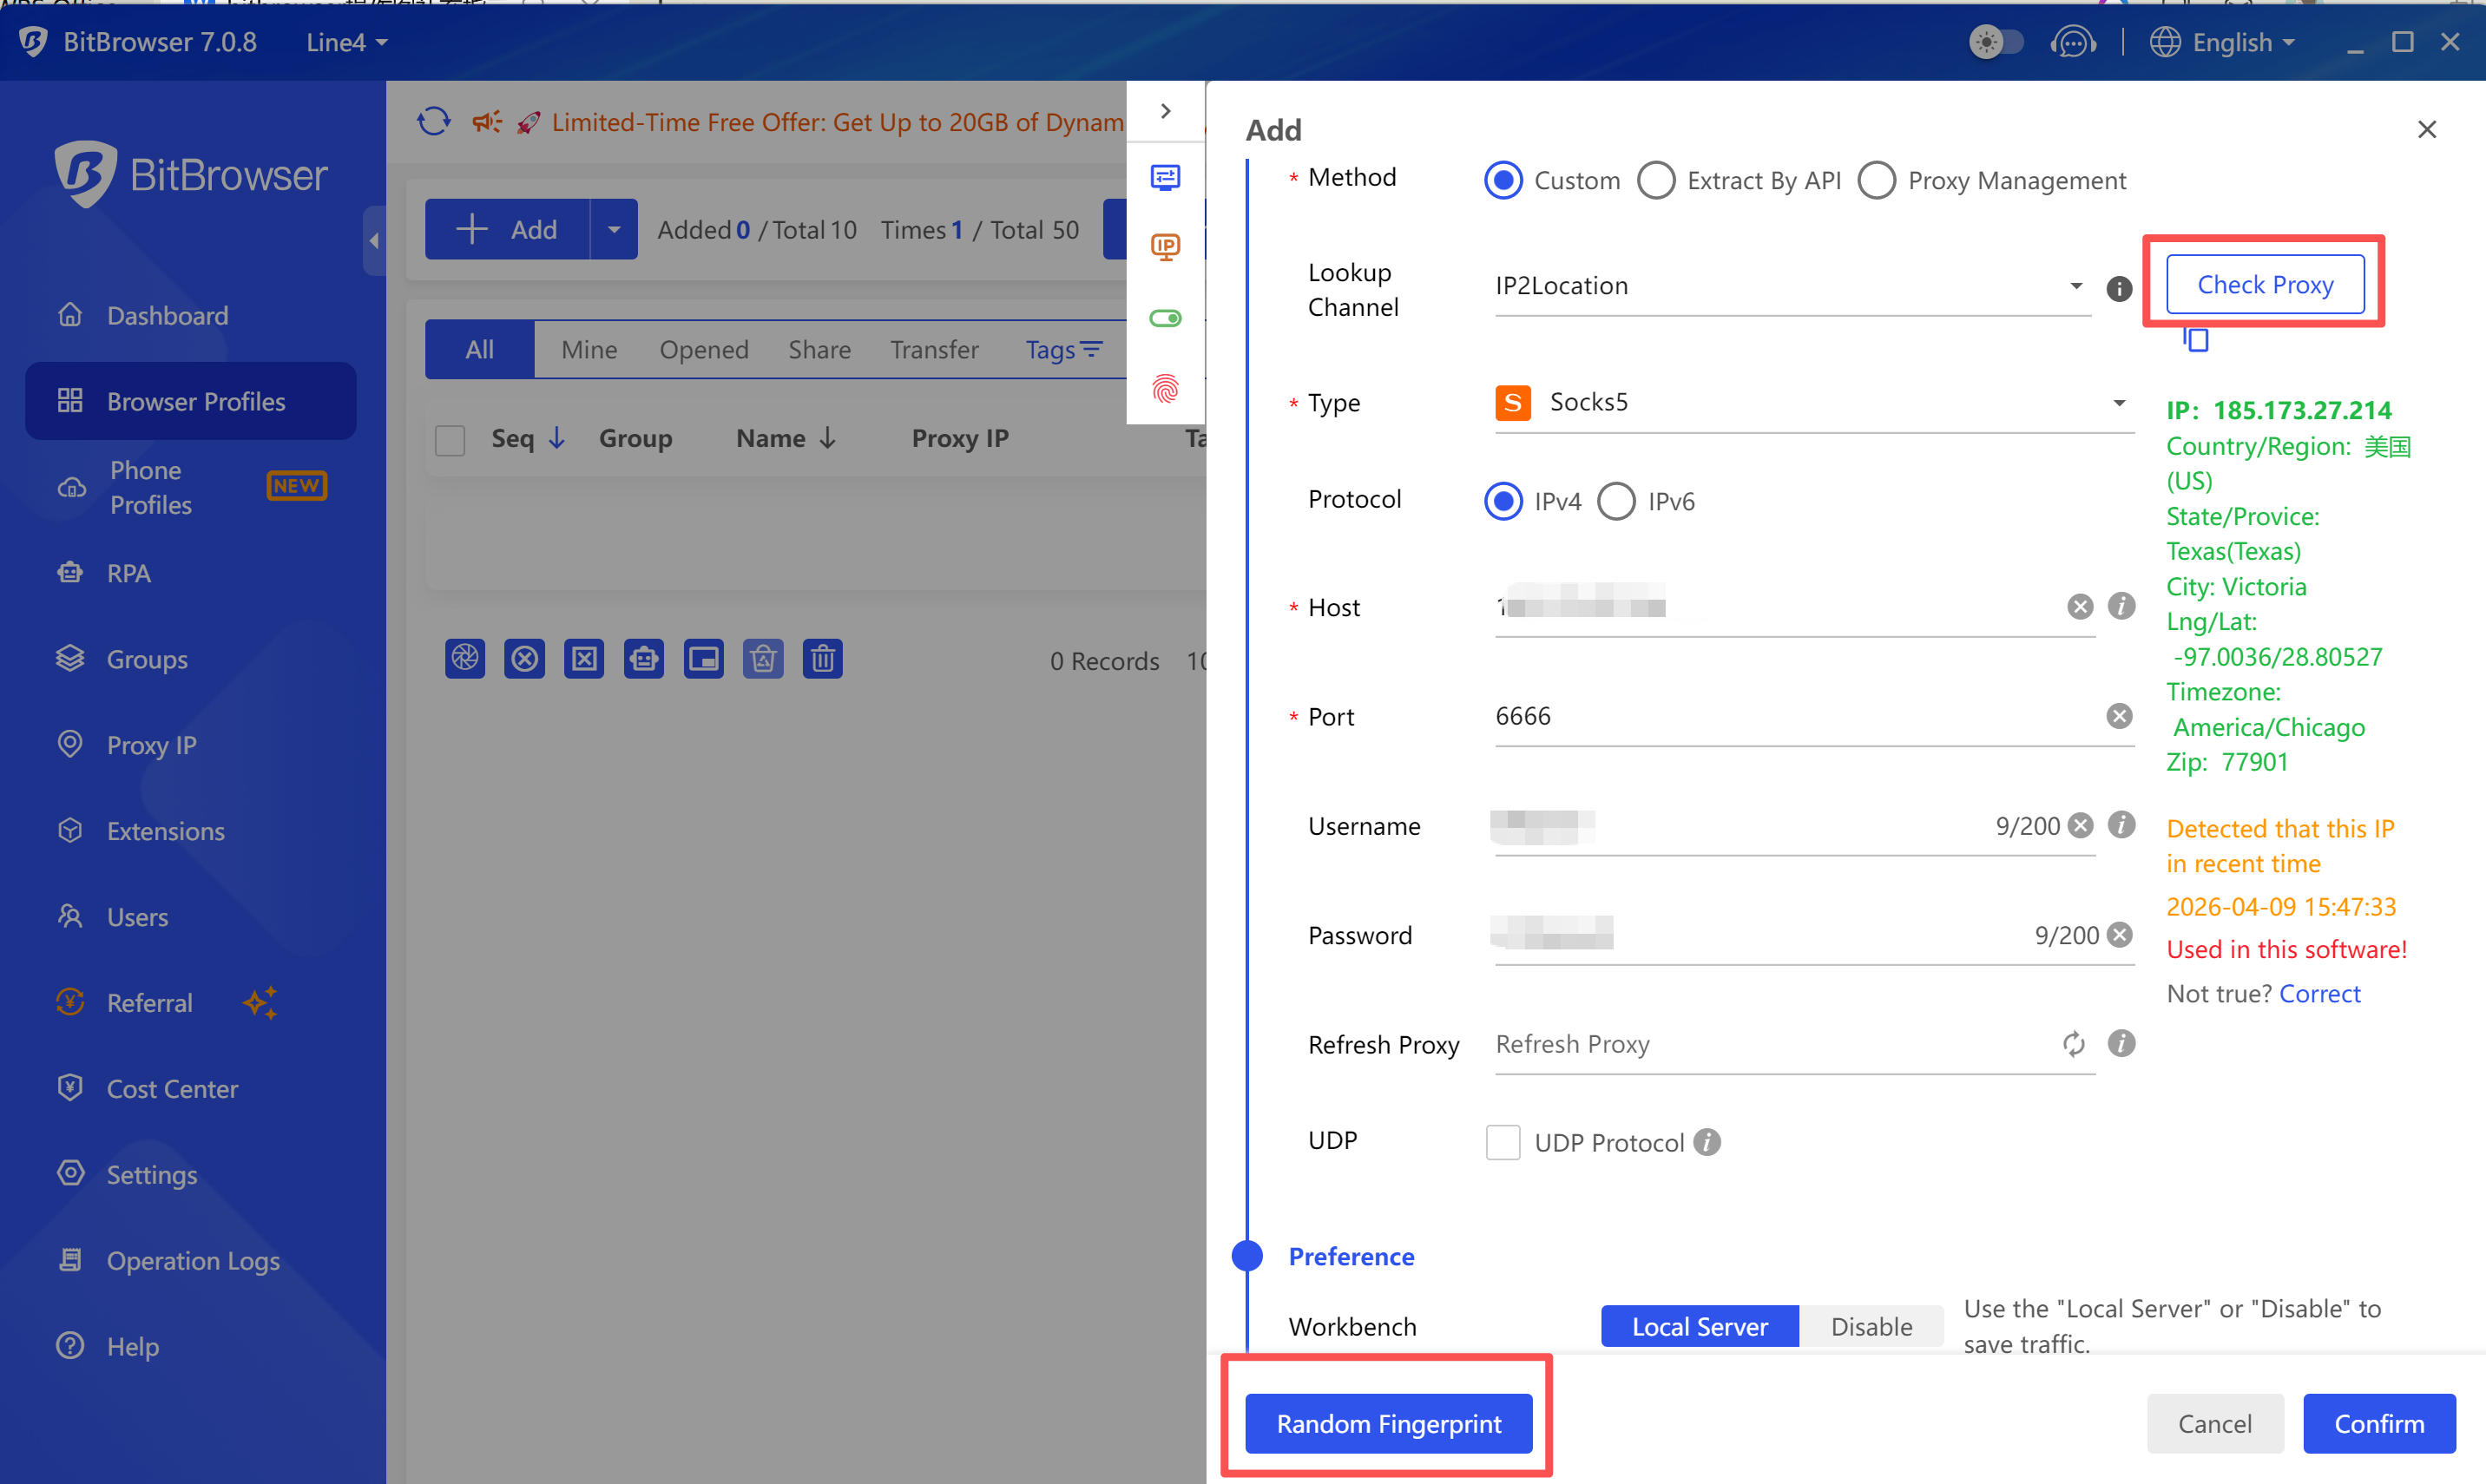
- In the browser configuration page, find the "Proxy" tab
- Select proxy type:
- HTTP: Suitable for most scenarios
- HTTPS: Requires encrypted connection
- SOCKS5: Requires lower-level protocol support
- Fill in proxy information (example):
Proxy Type: SOCKS5
Proxy Host: proxy.niuproxy.com
Port: xxxx
Username: your_username
Password: your_password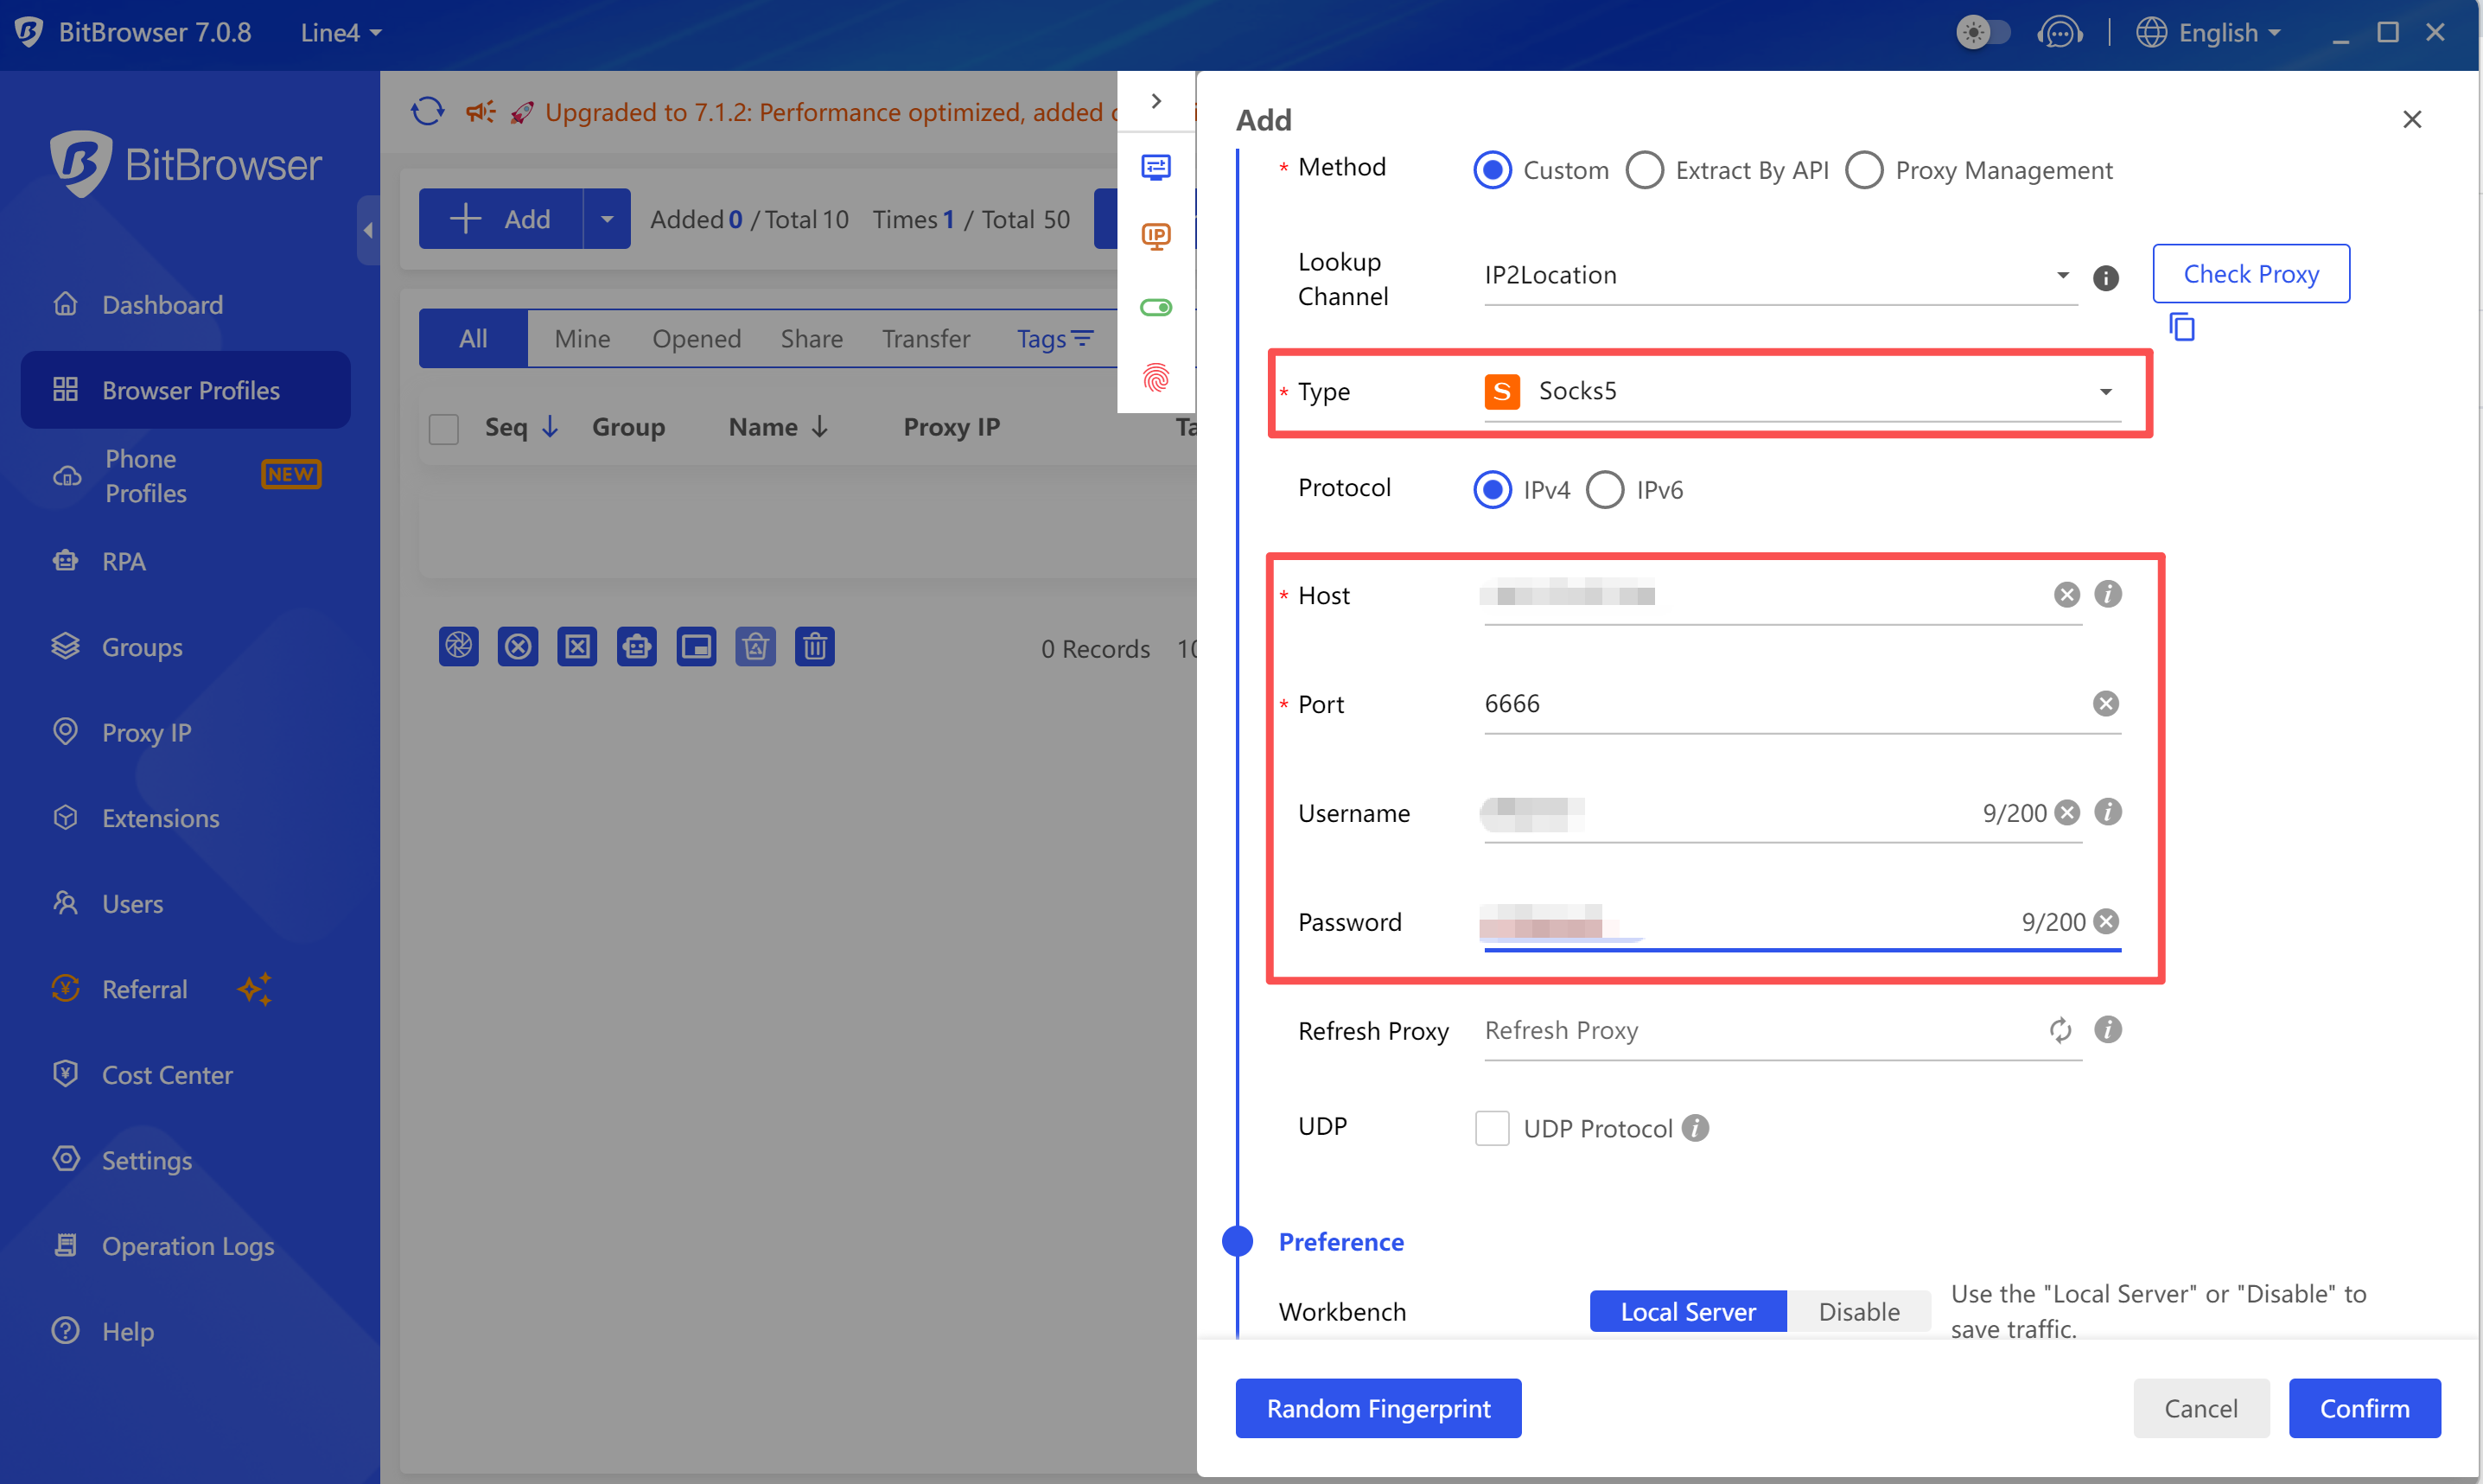
Step 5: Test Proxy Connection
- Click "Test Proxy" or "Test Connection" button
- Wait for test results
- Confirm the displayed IP address and location are correct
Step 6: Save Configuration
- Confirm all settings are correct
- Click "Save" or "OK" button
- Profile creation completed
Common Issue in China: Why can't I connect after adding a proxy IP in Bit Browser?
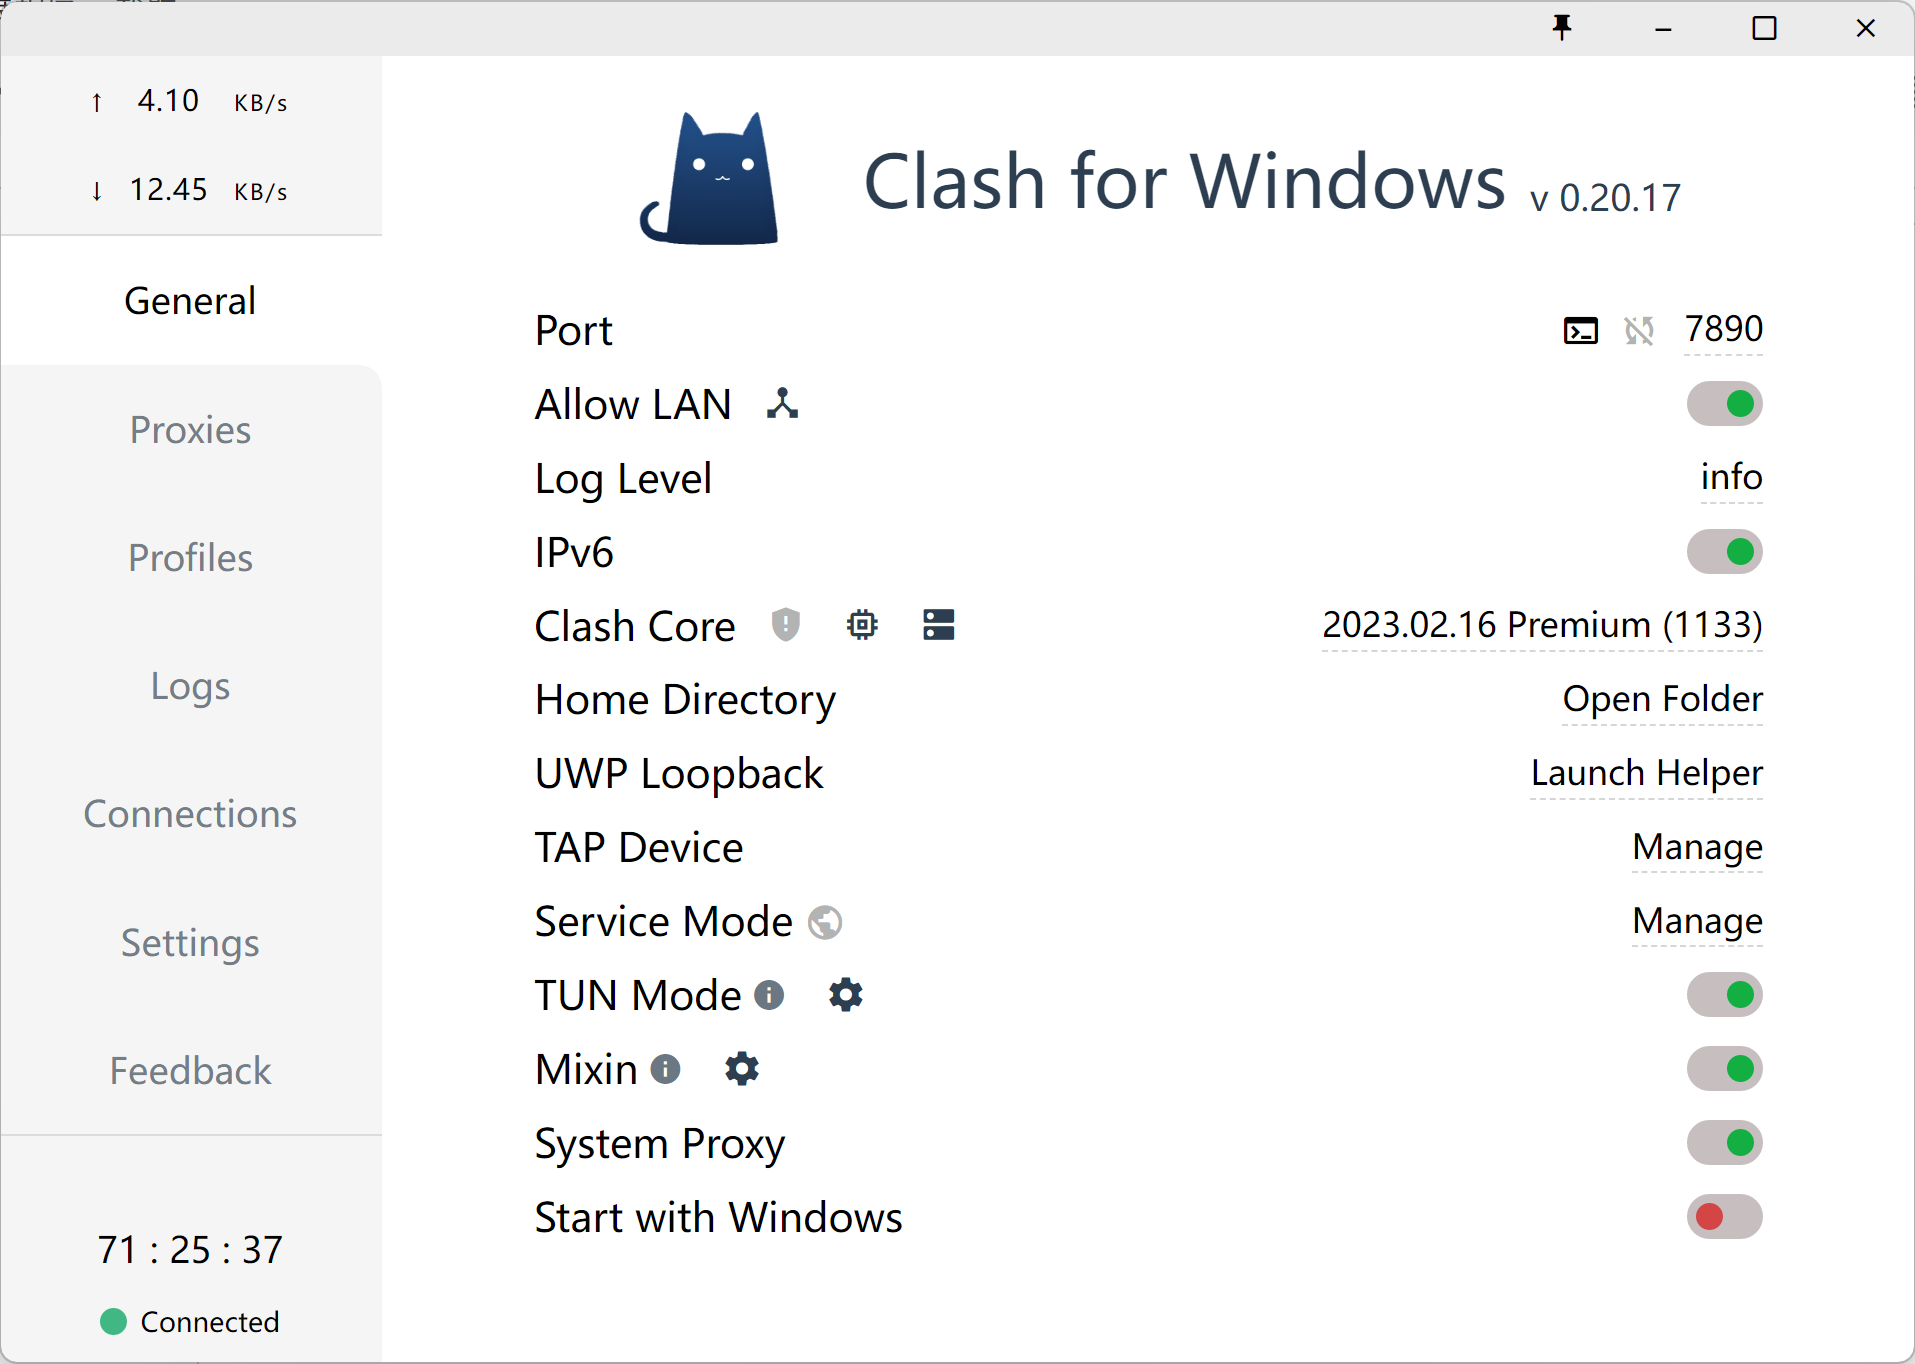
Please make sure you have enabled one of the following tools:
- Clash
- V2Ray
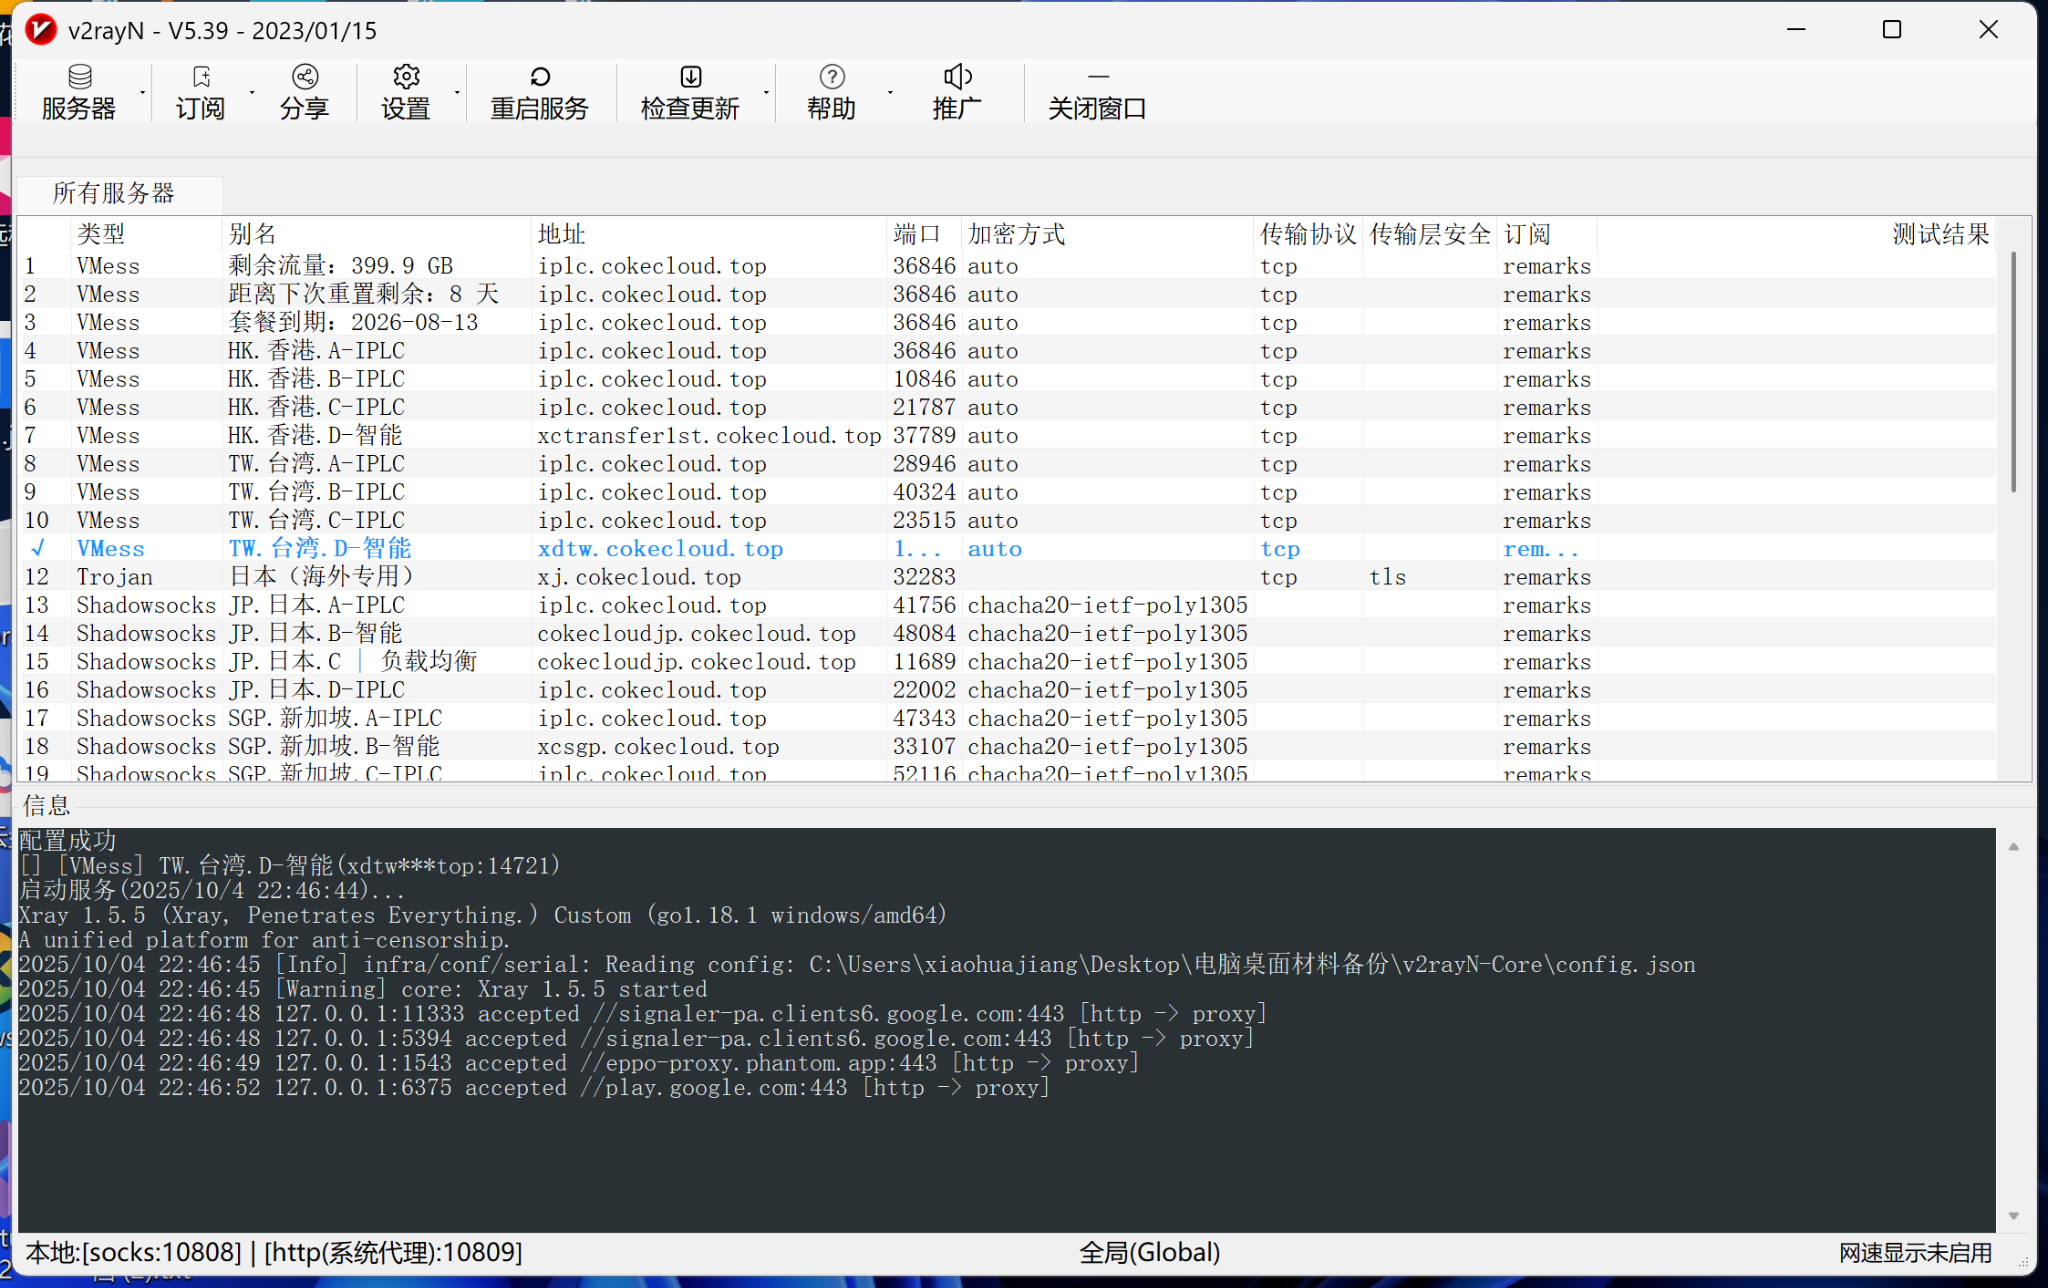
And ensure it is in a "connected" state.